These 10 painting techniques range from beginner-friendly to slightly more skilled – but every single one is achievable with basic tools, a little patience, and a few hours of prep. Here's what's actually worth trying.
Top 10 at a Glance
Accent Wall
Color Blocking
Two-Tone Walls (Chair Rail Effect)
Limewash Painting
Striped Walls
Ombre Wall
Stenciling
Ceiling Color
Whitewashing Wood
Painted Arch or Curved Shape
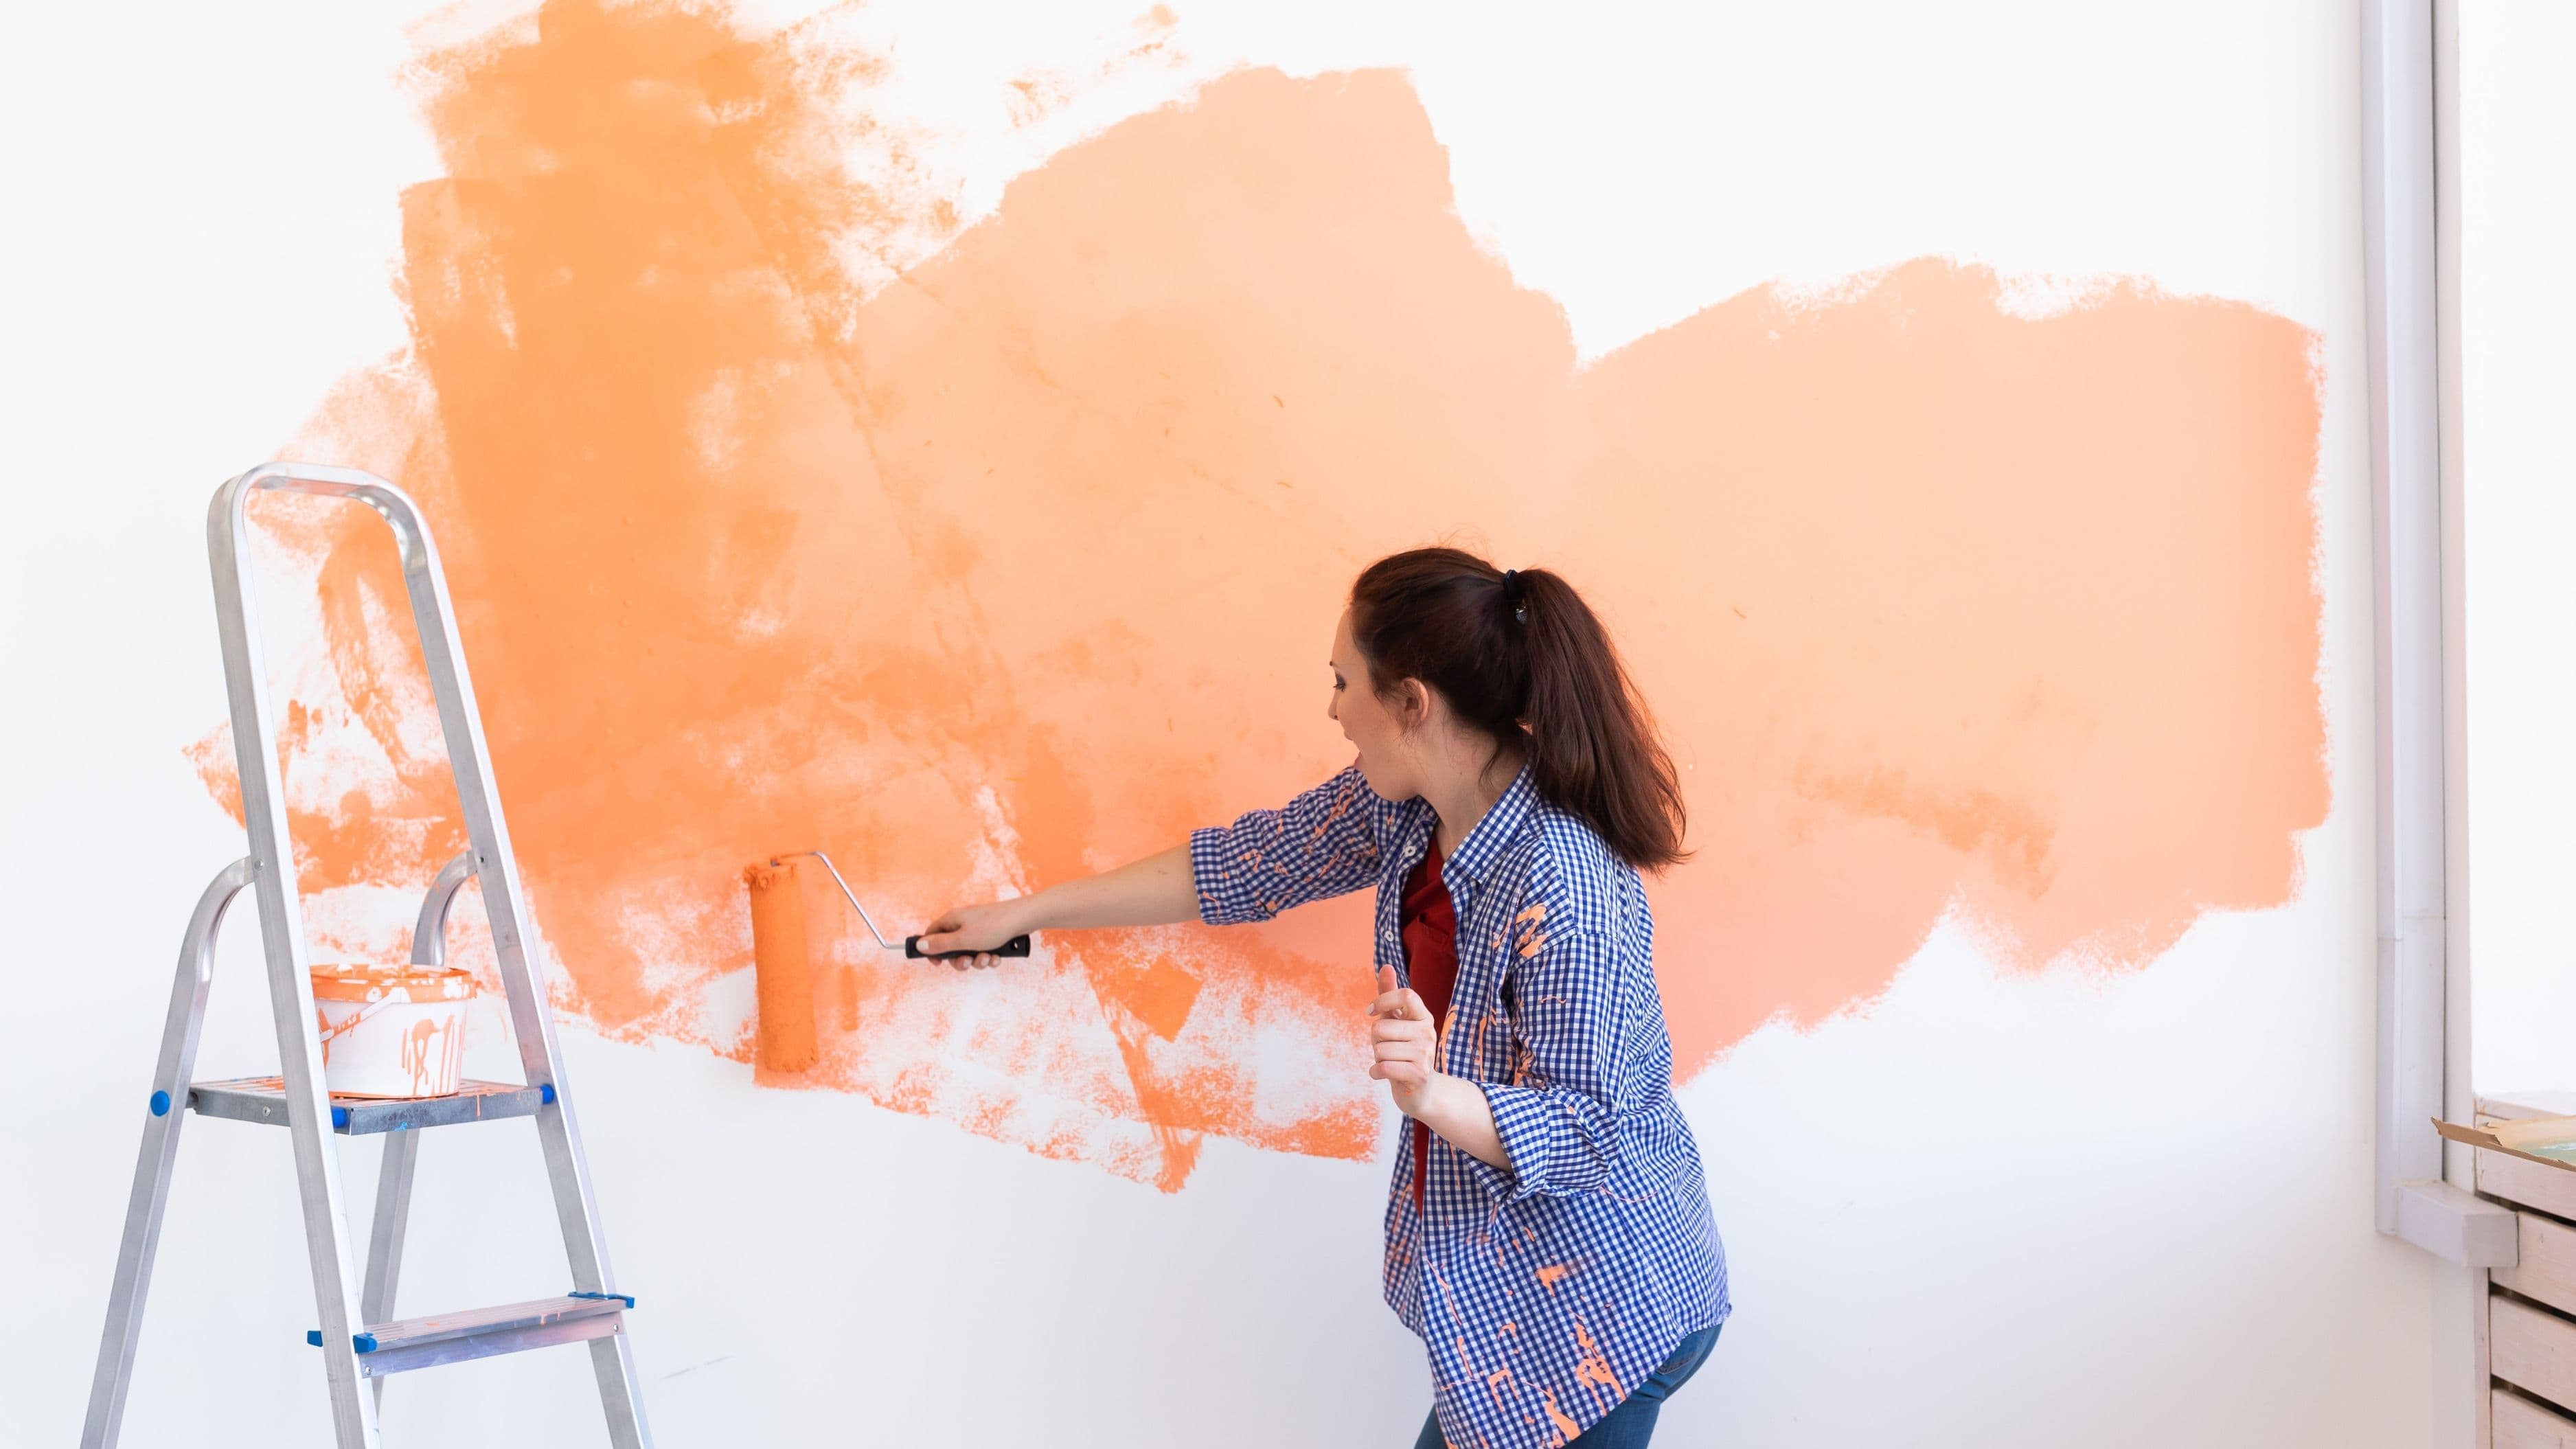
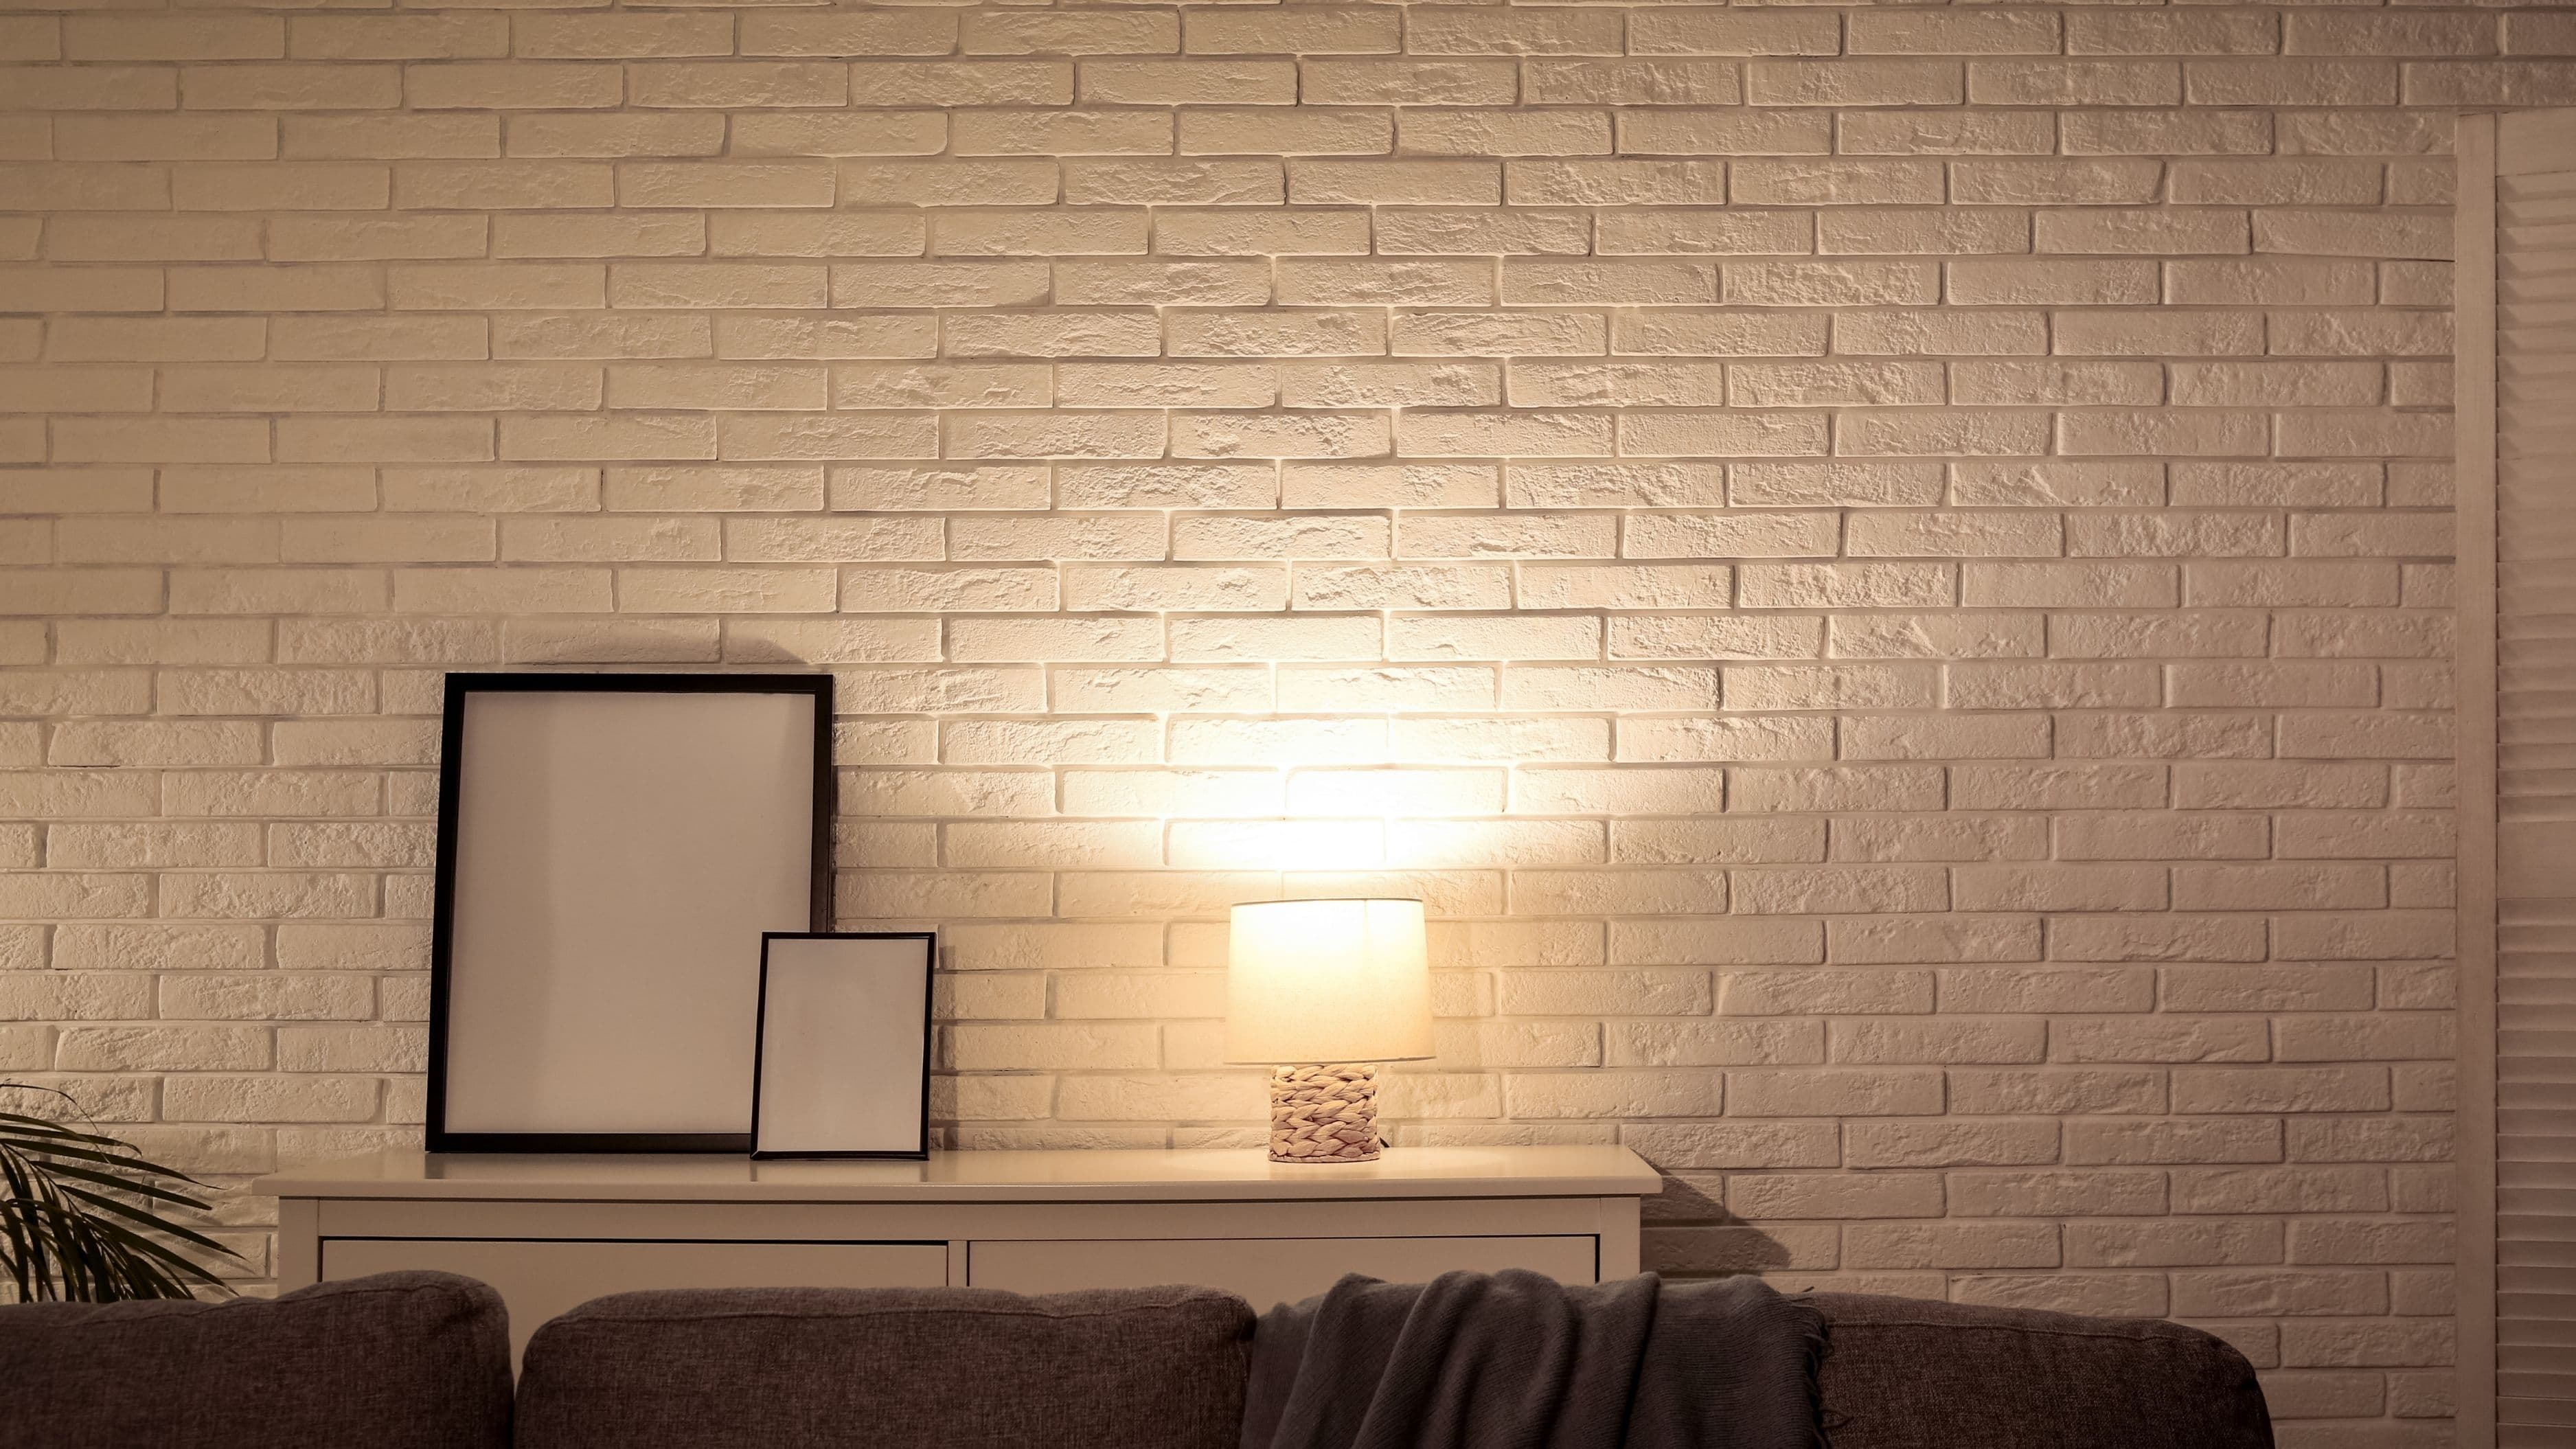
1. Accent Wall
The accent wall is the most beginner-friendly technique on this list – and also the most consistently effective. The concept is simple: choose one wall in a room and paint it a noticeably different color or finish than the other three. Done right, it creates a natural focal point, makes a room feel more intentional, and can visually reshape the proportions of a space. A long, narrow room with one short wall painted in a deep, bold color suddenly feels less tunnel-like. A bedroom with an accent wall behind the headboard feels more like a designed space rather than a box with furniture in it.
The key to a good accent wall is picking the right wall and the right color. The wall you choose should be the one your eye naturally goes to when you enter the room – usually the one directly across from the door, or the one anchoring a major piece of furniture. The color should be a few shades deeper than your main walls, or a contrasting hue that still fits within the room's palette. One gallon of paint typically covers a standard accent wall, which keeps the total investment under $50.
Best for: Beginners, renters (check lease terms), or anyone who wants a big visual impact with minimal commitment.
Key tip: Use painter's tape along all edges and corners, and do two coats for full, even coverage – especially with saturated or dark colors.
2. Color Blocking
Color blocking takes the accent wall concept and pushes it further by using bold, contrasting color shapes on a single wall or across multiple surfaces. Instead of painting an entire wall one color, you divide it into distinct geometric sections – two halves split diagonally, a large rectangle of color, a bold band running horizontally – and fill each section with a different hue. The result is graphic, modern, and surprisingly easy to execute with painter's tape and a steady hand.
The color combinations you choose determine whether the final look is bold or refined. High-contrast pairings like terracotta and cream, navy and white, or sage and mustard make a strong statement. More tonal combinations – think dusty rose and blush, or two shades of the same blue separated by white – give a softer, more sophisticated result. The technique works particularly well in home offices, children's rooms, and entryways where you want the space to feel energetic and distinct. You'll typically need two to three small quarts of paint rather than full gallons, keeping costs in the $30 to $75 range for the whole project.
Best for: Modern or eclectic interiors, home offices, kids' rooms, and anyone with a good eye for color relationships.
Key tip: Plan your shapes on paper or use painter's tape to mock up the layout before committing. Getting the proportions right on paper saves a lot of re-taping on the wall.
3. Two-Tone Walls (Chair Rail Effect)
Painting the upper and lower halves of your walls in two different colors – separated by a clean horizontal line – is one of the oldest interior design tricks in the book, and it still works because it's fundamentally sound. Traditionally this was done with an actual wooden chair rail molding dividing the wall, but you can achieve the same effect with nothing more than a level, painter's tape, and two coordinating colors. The line typically sits at one-third of the wall height from the floor (around 32 to 36 inches in most rooms), though you can adjust it based on what looks right for your space.
The classic combination is a darker shade on the bottom and a lighter shade on top, which grounds the room and draws the eye upward. But you can flip this – a bold, rich color on the upper half with a neutral below – for a completely different effect that feels more dramatic and modern. Two-tone walls work exceptionally well in dining rooms, hallways, and bedrooms. Because you're using two colors in a single room, coordinating them carefully matters – sticking to the same paint brand's palette or using a light and dark version of the same color is a reliable starting point.
Best for: Rooms that feel plain or too tall, hallways, dining rooms, and anyone who wants a classic look without installing actual molding.
Key tip: Use a level to draw your dividing line before applying tape – eyeballing a horizontal line across an entire wall almost never works out.
4. Limewash Painting
Limewash is having a well-deserved moment, and for good reason – it's one of the most beautiful and distinctive wall finishes you can achieve without professional help. Traditional limewash is made from slaked lime and water, and it creates a soft, layered, slightly mottled finish that looks like aged Italian or Mediterranean plaster. Modern limewash paints (available from brands like Portola Paints, Backdrop, and even some big-box store options) are formulated to be more user-friendly while delivering the same aesthetic.
The application technique is what makes limewash look like limewash. You apply it with a wide, natural-bristle brush using broad, overlapping X-pattern strokes, working in small sections and varying your pressure to create natural variation. You're not trying to get even, consistent coverage – the layered, irregular finish is the point. This makes it one of the more forgiving techniques for imperfect walls, since the texture actually benefits from slight variations. A limewash finish typically costs $80 to $200 for a standard room depending on the product you use, but the visual impact is significantly more dramatic than the price suggests.
Best for: Living rooms, bedrooms, and dining rooms where you want a warm, textured, organic finish that looks expensive and high-end.
Key tip: Practice your stroke technique on a large piece of cardboard or scrap drywall before starting on the wall – the motion takes a few minutes to get comfortable with.
5. Striped Walls
Stripes are a classic for a reason – they're geometric, precise, and visually powerful while remaining completely DIY-accessible. Vertical stripes draw the eye upward and make a room feel taller. Horizontal stripes make a space feel wider and more expansive. Wide stripes in tonal color combinations feel sophisticated and refined. Bold, narrow stripes in contrasting colors feel graphic and energetic. The same technique yields completely different results depending on your color choices and stripe width, which makes it one of the most versatile options on this list.
The key to clean, professional-looking stripes is preparation. Measure and mark your stripe widths precisely using a pencil and level – don't estimate. Apply painter's tape carefully along every edge, pressing the tape down firmly with a putty knife or credit card to prevent bleed-through. Paint the edges of the tape with your base coat color first, let it dry, then apply your stripe color – this seals any small gaps in the tape and keeps the lines crisp. Remove the tape while the paint is still slightly wet (not fully dry) by pulling it back at a 45-degree angle. Two coordinating paint colors and good painter's tape will cost you $40 to $80 for most rooms.
Best for: Nurseries, home offices, dining rooms, and anyone willing to invest the extra prep time for a dramatic, architectural result.
Key tip: Wider stripes (8 to 12 inches) are significantly easier to execute neatly and look more contemporary than narrow stripes, which require more tape lines and more precision.
6. Ombre Wall
An ombre wall – where color transitions gradually from one shade to another, typically from dark at the bottom to light at the top or vice versa – sounds complicated but is actually more approachable than most people expect. You don't need special tools or advanced skills. You need two to three shades of the same color (or compatible colors), a standard roller, and the willingness to work quickly while the paint is still wet.
The process involves applying each color in horizontal bands and then blending where they meet using a dry roller or brush while the paint is still wet. The blending is the key step – working back and forth across the transition zone until the shift between colors is smooth rather than abrupt. Ombre works best with colors from the same family (light blue to deep navy, blush to rust, cream to warm caramel) since wildly different hues are harder to blend seamlessly. The technique is especially beautiful in bedrooms and living rooms where a wall with visual depth and movement creates a calming, artistic effect. Budget-wise, you're looking at two to three small quarts of paint, so around $30 to $60 total.
Best for: Bedrooms, living rooms, and creative spaces where a soft, artistic, flowing effect fits the room's overall mood.
Key tip: Work in sections across the wall rather than top to bottom, and keep a wet edge at all times – dry paint edges create harsh lines that are hard to blend out.
7. Stenciling
Stenciling is how you get a wallpaper-level decorative effect at a fraction of the cost and without the commitment. Using a pre-cut stencil and a small foam roller or stencil brush, you can apply repeating patterns – geometric, botanical, Moroccan tile, Art Deco, abstract – to any wall in your home. The patterns available from stencil companies like Royal Design Studio or Cutting Edge Stencils are genuinely impressive, and a $20 to $40 stencil goes a long way since you reposition and reuse it across the entire wall.
The technique requires patience more than skill. You position the stencil, apply paint sparingly with a mostly dry roller (the "dry brush" approach prevents paint from bleeding under the stencil edges), let it dry slightly, then move the stencil to the next position using registration marks to keep the pattern aligned. The process is meditative rather than fast – expect a full accent wall to take three to five hours. But the result can look genuinely sophisticated, especially with metallic paint on a neutral base or a tone-on-tone pattern that adds texture without competing with other elements in the room.
Best for: Anyone who loves pattern but wants to avoid the cost and permanence of wallpaper, or anyone renting who needs a reversible decorative option.
Key tip: Use less paint than you think you need – overloaded stencils bleed and blur. Practice on paper first, and reload the roller with less paint each time than your instinct suggests.
8. Ceiling Color
The ceiling is the single most overlooked surface in any room, and painting it a deliberate color rather than the default white is one of the most impactful and underused design moves available. A ceiling painted in a deep, moody hue – midnight blue, forest green, charcoal, terracotta – makes a room feel cocooning and intimate. A ceiling painted the same color as the walls removes the visual boundary and makes a space feel larger and more cohesive. A pale, unexpected color like blush or warm lavender adds a sense of whimsy and surprise that transforms the whole atmosphere of a room.
From a practical standpoint, painting a ceiling is more physically demanding than walls (neck strain is real), and it requires an extension roller to reach effectively. But it uses minimal paint – most standard ceilings require only one to two gallons even with two coats – and there's no taping required along the wall edges if you have a steady hand and use a quality angled brush to cut in first. The cost is typically $40 to $80 in paint, and the transformation is genuinely disproportionate to the effort and expense involved.
Best for: Any room that feels too tall, too stark, or too plain – particularly bedrooms, dining rooms, and spaces with architectural ceiling details.
Key tip: Use ceiling-specific paint formula if going white or near-white (it's formulated to minimize drips and spatters), but standard wall paint works fine for any color on a ceiling.
9. Whitewashing Wood
Whitewashing is the technique of applying a diluted white paint mixture to wood – paneling, exposed brick, furniture, fireplace surrounds, or wood ceiling beams – so that the material's natural grain and texture show through a soft, translucent white layer. The effect is lighter and more modern than solid paint, and it can completely transform materials that look dark, dated, or heavy into something that feels airy and current without losing the warmth of the natural texture underneath.
The mix is simple: combine equal parts white latex paint and water, test on an inconspicuous area, and adjust the ratio based on how transparent you want the finish. Apply with a brush in the direction of the wood grain, let it sit for 30 to 60 seconds, then wipe back with a damp rag to the level of coverage you want. More wiping means more wood grain showing through; less wiping gives a heavier, more opaque result. A single quart of white paint is often enough for a substantial wood feature, making this one of the least expensive techniques on the list at under $20 in materials.
Best for: Rooms with dark wood paneling, dated wood accents, brick fireplaces, or exposed beams that feel too heavy or dark for the current design direction.
Key tip: Seal the finished surface with a matte or satin water-based polyurethane to protect the whitewash, especially in high-traffic areas or on floors.
10. Painted Arch or Curved Shape
Painted arches and curved shapes are the most design-forward technique on this list – and the one that's gained the most traction in recent years for good reason. A simple painted arch in a contrasting or complementary color, placed behind a bed, a chair, a dresser, or a doorway, creates the effect of architectural detail without any construction. It frames a vignette, adds visual structure, and makes a space look intentionally designed rather than assembled by default.
The technique is simpler than it looks. Draw your arch shape lightly in pencil using a makeshift compass (a string tied to a pencil with the other end anchored to the wall by a thumbtack works perfectly), fill in the shape with your chosen color using a small roller and an angled brush for the curved edge, and let it dry. No tape required for the curved sections – a steady angled brush gives you more control than tape on curves. The total paint required is minimal, often less than a quart, making this a $15 to $30 project. The result is something that looks like it was planned by a designer from day one.
Best for: Bedrooms, reading nooks, entryways, and any space where you want a statement moment that photographs beautifully and feels distinctly considered.
Key tip: Sketch the arch proportions on paper first to decide on height and width before committing to pencil on the wall – the relationship between the arch size and the furniture or wall space it frames makes a big difference in how finished it looks.
Quick Takeaway
You don't need to paint every wall or commit to a complete room overhaul to get real results. Pick one technique that matches your skill level and the room's existing style, buy a quart or a single gallon of paint, and start there. The accent wall is the lowest-risk entry point. The painted arch gives you the most design impact per square inch. Limewash delivers the most "how did you do that?" reactions for the budget. And the ceiling color is the one most people overlook until they see it done well – and then they immediately want it in every room.
FAQ
Do I need to prime before trying any of these techniques? Priming is important when making a dramatic color change (especially going from dark to light), painting over new drywall, or covering stains. For most refresh projects on already-painted walls in decent condition, a quality paint-and-primer-in-one product eliminates the separate priming step.
What finish should I use for these painting techniques? Eggshell and satin finishes are the most versatile for walls – they're washable, have a subtle sheen, and hold up well over time. Flat or matte finishes hide imperfections better but are harder to clean. Use semi-gloss for trim and any areas that see moisture or heavy contact.
How do I get clean lines without tape bleed-through? Press tape down firmly along the entire edge using a putty knife or credit card. Before applying your new color, paint the tape edge with your base coat color and let it dry – this seals any small gaps. Then apply your new color over the sealed tape edge. Pull tape at a 45-degree angle while the paint is still slightly wet.
Can I use these techniques in a rental? Most of these techniques are fully reversible – you can paint back over them before moving out. Check your lease terms first. An accent wall or painted arch can almost always be returned to neutral with one to two coats of white or the original wall color.
How long does paint need to dry between coats? Most latex paints are dry to the touch in one to two hours but need two to four hours between coats for proper adhesion. Always check the manufacturer's recommendation on the specific product you're using. Rushing second coats leads to streaking and peeling.
What's the best paint brand for budget projects? Behr (available at Home Depot) and Sherwin-Williams are consistently rated as best-in-class for quality and coverage. For budget projects, Behr Premium Plus offers excellent performance at a lower price point than many competitors. Avoid the cheapest store-brand options – poor coverage means more coats, which erases any cost savings.
📚 Sources
Bob Vila. How to Paint a Room Like a Pro. https://www.bobvila.com/articles/how-to-paint-a-room
This Old House. How to Limewash a Wall. https://www.thisoldhouse.com/painting/21015561/how-to-limewash-walls
The Spruce. How to Create a Stripe Paint Effect on Walls. https://www.thespruce.com/painting-wall-stripes-1822592
Apartment Therapy. How to Paint an Arch on Your Wall. https://www.apartmenttherapy.com/how-to-paint-arch-wall-36891569
Consumer Reports. Best Interior Paints. https://www.consumerreports.org/cro/interior-paints/buying-guide/index.htm
🔍 Explore Related Topics