This guide breaks down the ten most essential tips for building a beginner home studio — comparing the best approaches, tools, and brands in each category so you can make informed decisions before you spend a single dollar.
🎛️ Top 10 Home Studio Setup Tips at a Glance
Acoustic Treatment First — Best for eliminating room noise before it becomes a problem
Audio Interface Selection — Best for converting analog sound to clean digital signal
Microphone Choice — Best for capturing professional-quality recordings on a budget
Studio Monitor Speakers — Best for making accurate mixing decisions
DAW (Digital Audio Workstation) — Best for recording, editing, and producing music
Headphone Selection — Best for late-night sessions and detailed monitoring
MIDI Controller Setup — Best for composers, beatmakers, and producers
Cable & Connection Management — Best for maintaining signal integrity and reducing noise
Computer Optimization — Best for preventing latency, crashes, and lost sessions
Ergonomic Workspace Design — Best for long sessions, creativity, and avoiding fatigue
🔬 Our Methodology
Each tip and product recommendation in this guide was evaluated against five core criteria:
Price-to-value ratio — Does the investment deliver results proportional to its cost?
Ease of setup — Can a true beginner implement this without professional help?
Feature set — Does it cover beginner needs while leaving room to grow?
Brand/community support — Is there strong documentation, tutorials, and customer service?
User reviews — What do real beginners say after 6–12 months of use?
Where specific brands are recommended, they represent the most consistently praised options across major retailer reviews (Sweetwater, B&H, Amazon), YouTube creator consensus, and recording forums like Gearslutz and Reddit's r/WeAreTheMusicMakers.
📋 Detailed Reviews
1. Acoustic Treatment — Best for Eliminating Room Noise
Best for: All home studio users, regardless of budget
Pricing from: ~$30 DIY / ~$150 for starter panel kits
Top brands: Acoustimac, GIK Acoustics, Auralex
Acoustic treatment is the single most overlooked element in a beginner home studio — and the one that makes the biggest difference. Untreated rooms produce flutter echo, bass buildup in corners, and uneven frequency response, which means any recording or mix made in that space will sound different on other speakers. Many beginners spend hundreds on microphones while ignoring the room, only to wonder why their recordings still sound amateur.
The good news: basic treatment doesn't require a renovation. Start with bass traps in the corners (low-frequency absorption), broadband panels on the first reflection points (side walls, ceiling above your head), and a diffuser on the rear wall. GIK Acoustics offers excellent made-to-order panels at fair prices with free acoustic advice for customers. Auralex's Studiofoam starter kits are widely available and easy to install. For the truly budget-conscious, thick moving blankets, bookshelves full of books, and heavy curtains all help.
✅ Pros
Dramatically improves recording and mixing accuracy
DIY options are extremely affordable
One-time investment that benefits every session
Reduces noise bleed between takes
Improves your mixes' translation to other speakers/systems
❌ Cons
Can look industrial if not carefully designed
Bass trapping requires meaningful wall space
Full treatment of a large room gets expensive
Won't fix external noise (traffic, neighbors)
Easy to over-treat and make a room sound unnaturally "dead"
2. Audio Interface — Best for Clean Digital Conversion
Best for: Anyone recording live instruments or vocals
Pricing from: ~$50 (budget) / ~$200 (professional beginner)
Top brands: Focusrite Scarlett, Universal Audio Volt, PreSonus AudioBox
Your audio interface is the bridge between your microphone (or instrument) and your computer. Built-in computer sound cards are designed for playback, not recording — they introduce noise, latency, and poor gain staging that will compromise every recording you make. A dedicated interface solves all of this at once.
The Focusrite Scarlett 2i2 (4th Gen, ~$199) is the undisputed recommendation for beginners — it's reliable, sounds excellent, has low latency drivers, and comes bundled with software worth hundreds of dollars. If budget is tighter, the PreSonus AudioBox GO (~$49) offers clean preamps in a USB-powered package. The Universal Audio Volt 2 (~$199) adds vintage preamp character for singers and guitarists who want a warmer sound. For most beginners, two inputs are sufficient — don't over-buy.
✅ Pros
Eliminates noise and latency from computer sound cards
Most include bundled DAW and plugin software
USB-powered options need no external power supply
Significant improvement in recording quality immediately
Scales well — your 2i2 can last years into your career
❌ Cons
Cheap interfaces can still color your sound undesirably
Driver installation can occasionally be finicky on Windows
Budget options have limited headphone amp power
Adding more inputs means moving to pricier models
Some interfaces require specific USB versions (check your computer)
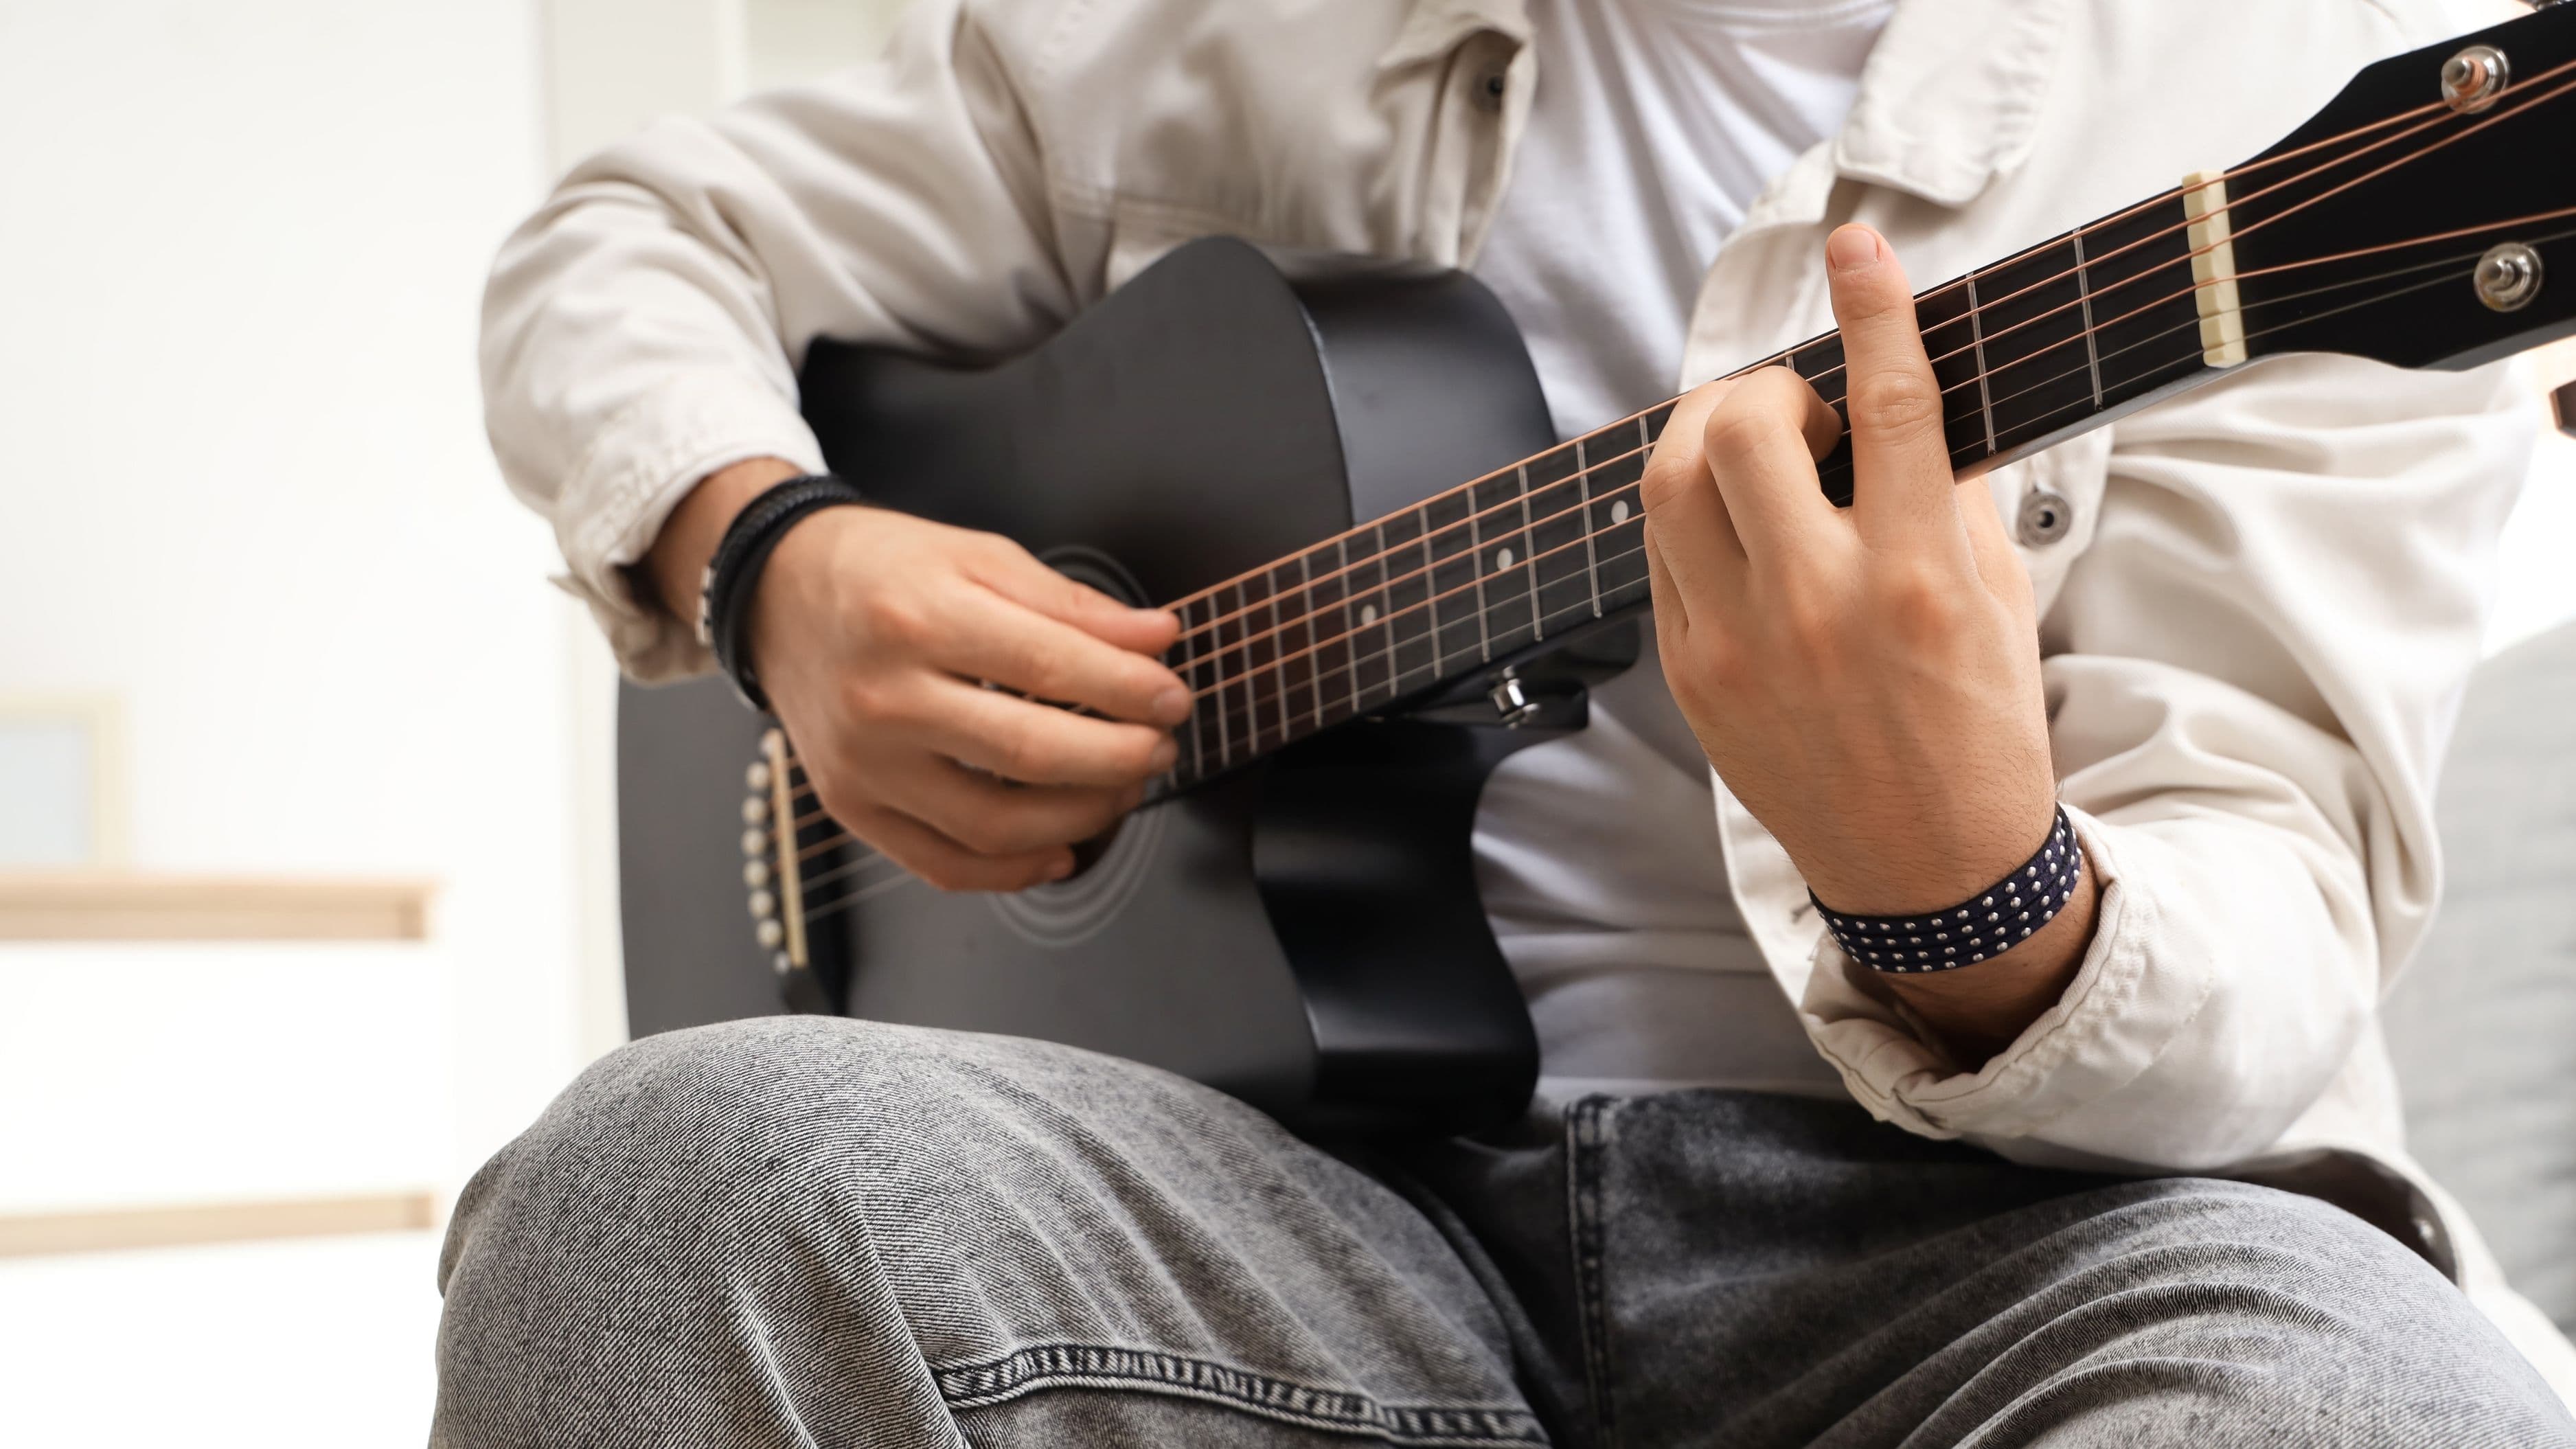
3. Microphone Selection — Best for Professional Recordings on a Budget
Best for: Vocalists, podcasters, acoustic instrument recording
Pricing from: ~$99 (condenser) / ~$99 (dynamic)
Top brands: Audio-Technica, Shure, Rode, sE Electronics
The microphone debate is one of the most passionate in home recording — and for good reason. Your choice between a condenser and a dynamic mic fundamentally shapes what you can record well. Condensers (like the Audio-Technica AT2020, ~$99) are sensitive and detailed, ideal for vocals and acoustic instruments in a treated room. Dynamic mics (like the Shure SM7B, ~$399, or the more affordable SM58, ~$99) are more forgiving of untreated rooms and handle loud sources like guitar amps and drums better.
For beginners recording vocals in a bedroom, the Rode NT1 (~$249) is a standout: ultra-low self-noise, a natural sound, and a 10-year warranty. The sE Electronics X1 A (~$99) punches well above its price. One key tip: avoid USB microphones if you've already purchased an interface — they bypass your interface entirely and limit your upgrade path. Always buy an XLR mic and run it through your interface.
✅ Pros
A good mic reveals detail and professionalism immediately
Entry-level options from reputable brands are genuinely excellent
One mic can serve multiple recording needs
XLR mics are future-proof and compatible with any interface
Proper mic technique costs nothing and improves results dramatically
❌ Cons
Condenser mics expose room problems mercilessly
Cheap mics from unknown brands are inconsistent in quality
Requires a shock mount and pop filter (additional cost)
Placement technique takes time to learn
The "best mic" varies by voice and use case — no universal answer
4. Studio Monitor Speakers — Best for Accurate Mixing Decisions
Best for: Music producers, mixers, and anyone who needs to hear truth
Pricing from: ~$200/pair (entry-level) / ~$400–$800/pair (prosumer)
Top brands: Yamaha HS Series, KRK Rokit, Adam Audio T-Series, Yamaha HS5
Studio monitors are not the same as hi-fi or consumer speakers. Consumer speakers are designed to make music sound good — they boost bass and add warmth. Studio monitors are designed to be neutral, telling you exactly what's in your mix so you can make corrections. Mixing on consumer speakers or earbuds leads to mixes that sound great in your room but fall apart on other systems.
The Yamaha HS5 (~$400/pair) is one of the most trusted beginner monitors on the market — famously flat response, durable, and with decades of professional credibility. The Adam Audio T5V (~$400/pair) adds a ribbon tweeter for exceptional high-frequency detail at a competitive price. The KRK Rokit 5 G4 (~$350/pair) is slightly more flattering (not always ideal for mixing) but beloved by beatmakers for its fuller low end. Place monitors at ear height, equidistant from your ears and the front wall, forming an equilateral triangle with your listening position.
✅ Pros
Neutral sound leads to better, more translatable mixes
Built-in amplification means no separate amp needed
Most include room correction EQ for imperfect spaces
Investment pays off on every single mix you make
Strong resale value on reputable brands
❌ Cons
Flat response can initially sound "disappointing" to new ears
Room acoustics still heavily affect what you hear
Budget monitors under $150/pair often aren't worth it
Require careful placement to perform properly
Not suitable for casual music listening enjoyment
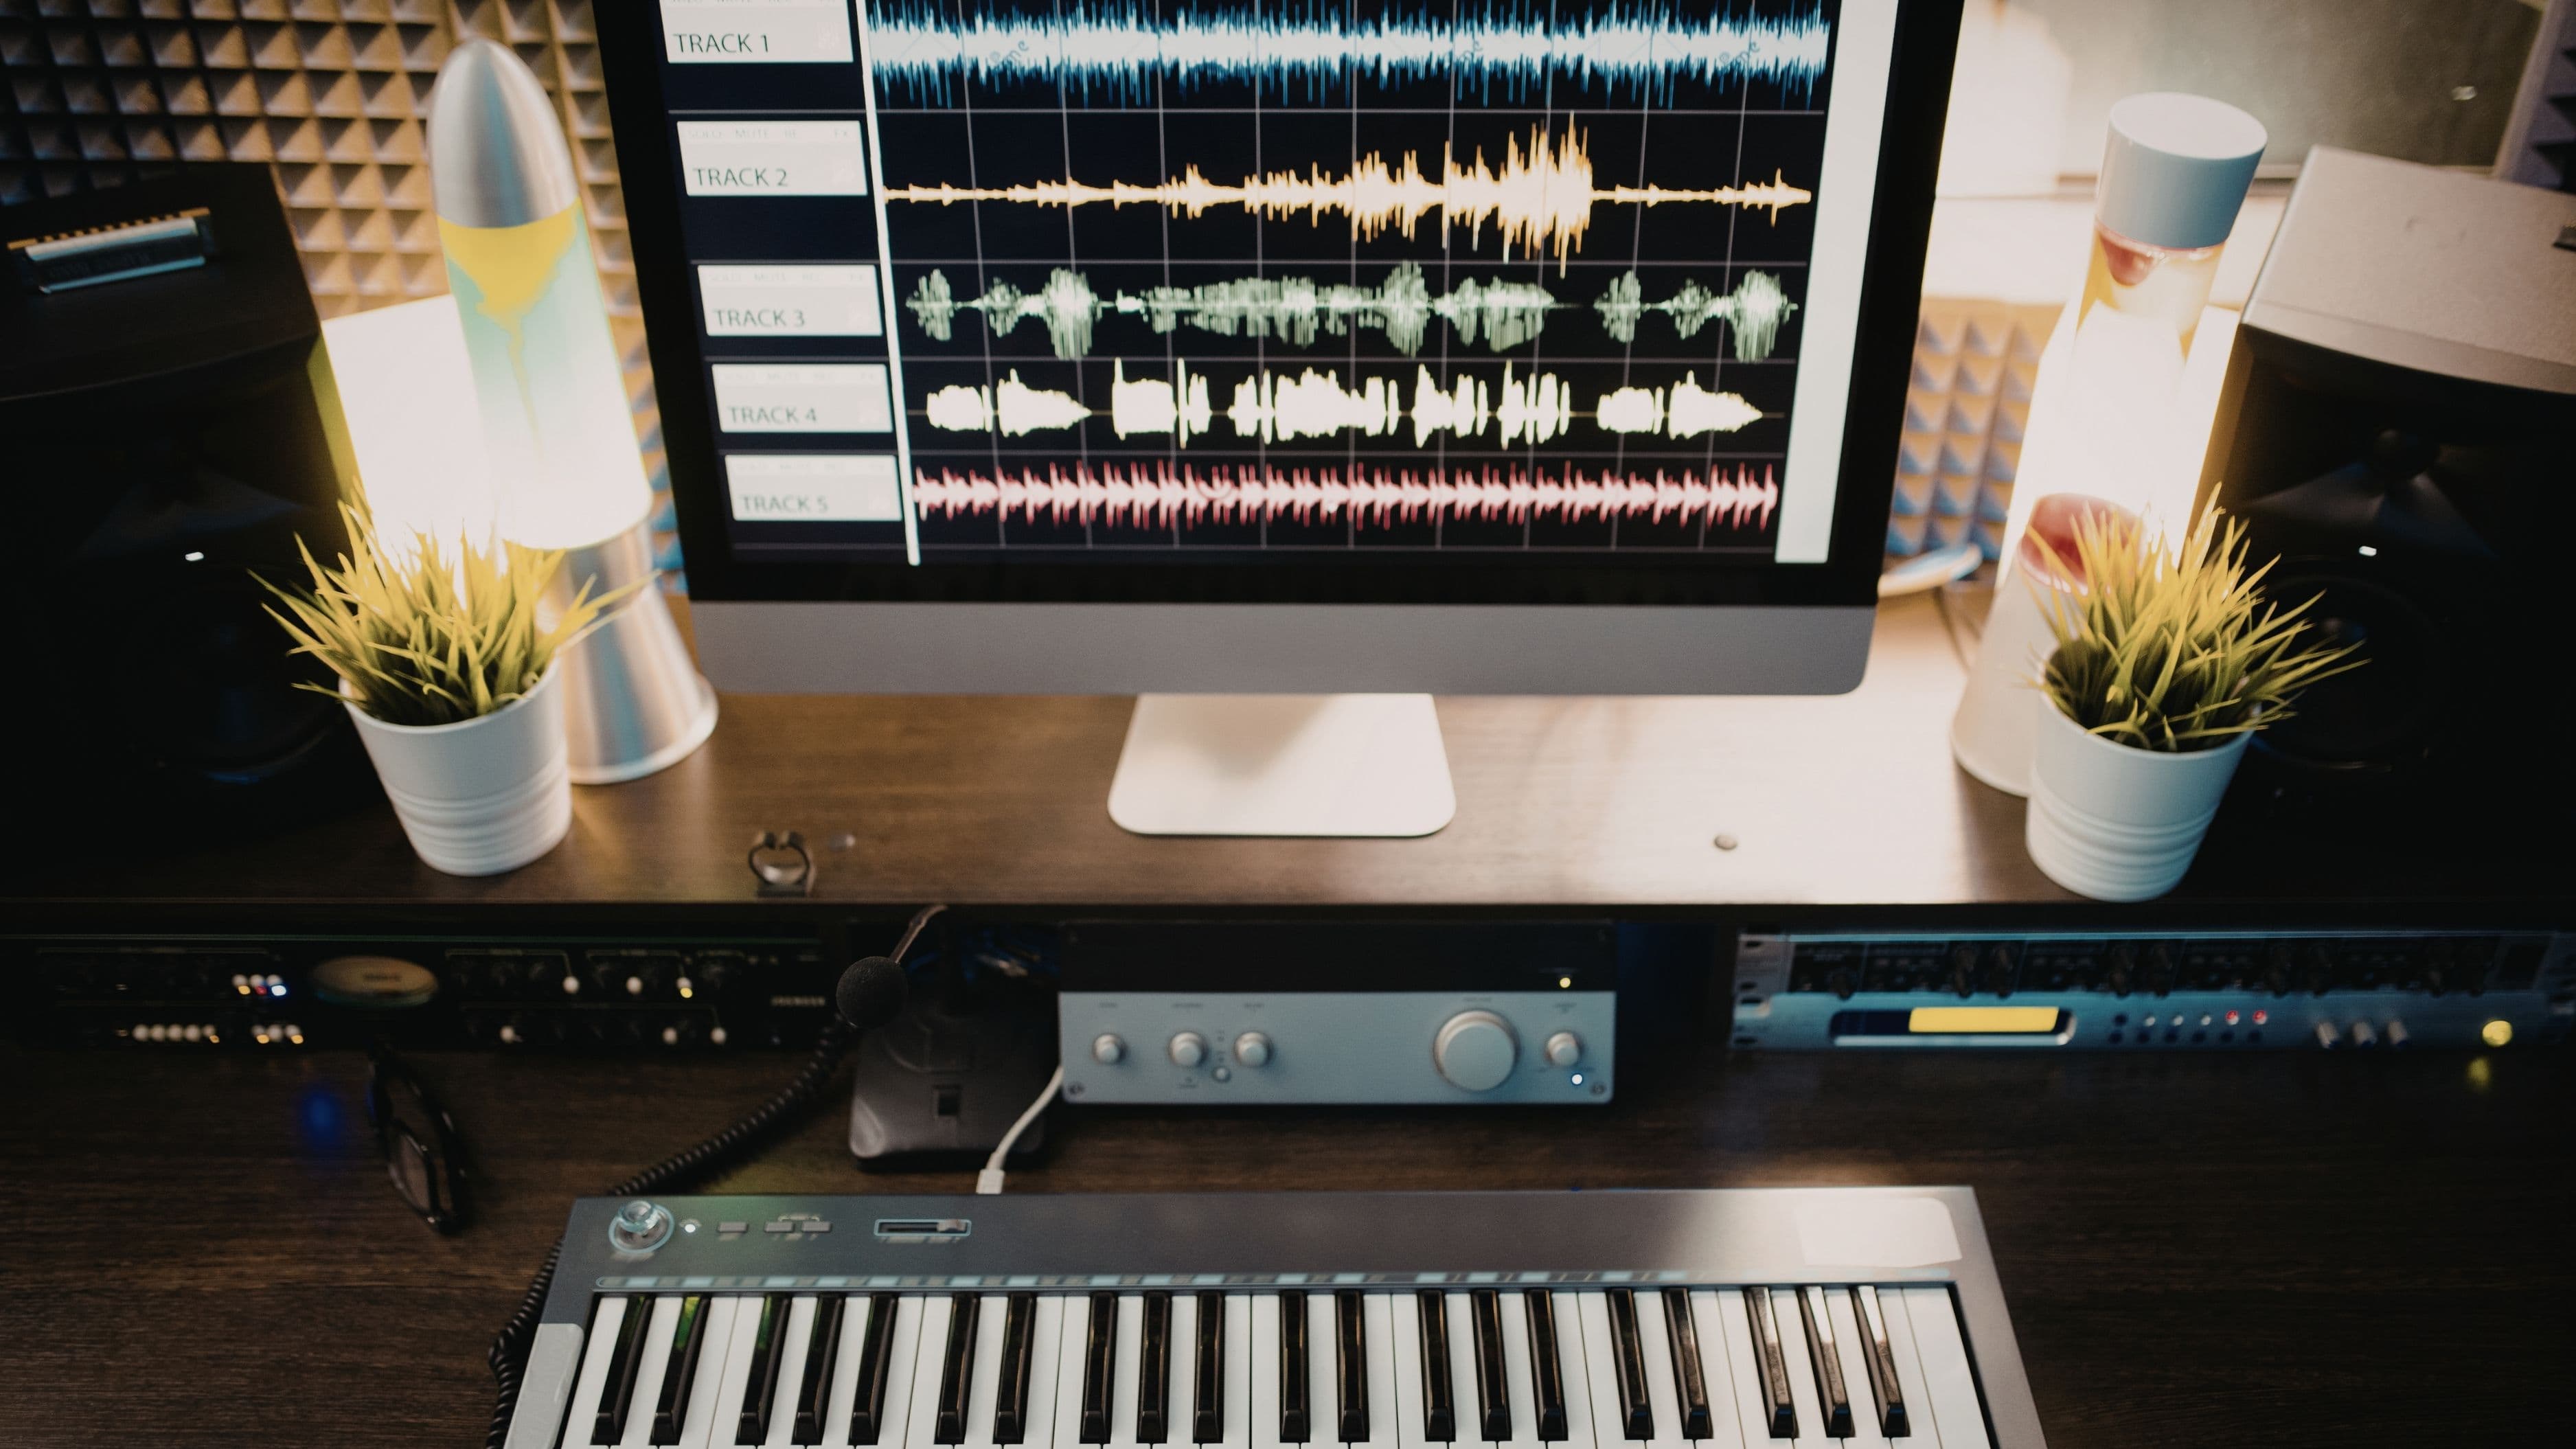
5. DAW (Digital Audio Workstation) — Best for Recording, Editing & Producing
Best for: Every home studio user — this is your core tool
Pricing from: Free (GarageBand) / ~$99–$599 (one-time or subscription)
Top options: GarageBand, Reaper, Ableton Live, Logic Pro, FL Studio, Pro Tools
Your DAW is your studio. It's where everything comes together: recording, editing, mixing, and exporting. The good news for beginners is that the best DAW is almost always the one you'll actually learn and use — not necessarily the most expensive. GarageBand (free for Mac users) is a legitimate professional tool that has produced chart-topping records. Reaper (~$60 discounted license) is extraordinarily powerful, highly customizable, and used by professional engineers globally.
Ableton Live Intro (~$99) is the go-to for electronic music and live performance. FL Studio (from ~$99, all future updates free) is beloved by beatmakers and hip-hop producers. Logic Pro (~$199.99 one-time, Mac only) is arguably the best all-around value in music production software. Pro Tools (subscription from ~$9.99/month) remains the industry standard in professional studios, but its learning curve and cost make it less ideal for pure beginners. Don't switch DAWs every few months chasing features — commit to one and go deep.
✅ Pros
Modern DAWs include thousands of built-in sounds and plugins
Most offer free trials before purchase
YouTube tutorials for every major DAW are virtually unlimited
Cloud saving and project backup available on most platforms
Cross-platform compatibility improving across the board
❌ Cons
Learning curve is steep regardless of which DAW you choose
Subscription models (Pro Tools) create ongoing cost obligations
Some DAWs are platform-exclusive (Logic = Mac only)
Plugin compatibility can vary between DAW versions
Tempting to upgrade before you've mastered your current version
6. Headphone Selection — Best for Late-Night Sessions and Detail Work
Best for: Tracking (recording), late-night work, and travel producers
Pricing from: ~$99 (reliable beginner) / ~$150–$300 (prosumer)
Top brands: Sony, Audio-Technica, Beyerdynamic, Sennheiser
Studio headphones split into two types: closed-back (for tracking/recording — they prevent bleed into the microphone) and open-back (for mixing — they have a wider, more natural soundstage). Beginners often only need one pair; if that's the case, a quality closed-back is more versatile.
The Sony MDR-7506 (~$99) has been an industry standard for decades — flat response, durable, foldable, and accurate enough for serious work. The Audio-Technica ATH-M50x (~$149) offers slightly more bass presence and is extremely popular across YouTube and Reddit communities. For open-back mixing, the Beyerdynamic DT 990 Pro (~$179) is widely praised for its wide soundstage and detail. Avoid "gaming" headphones and consumer models for studio work — their boosted bass and colored sound will mislead your mixing decisions just as consumer speakers do.
✅ Pros
Closed-back headphones essential for recording with a mic
High-quality headphones reveal mix details speakers can miss
Portable and usable anywhere — no room acoustics issue
Less affected by untreated room than monitors
Sony MDR-7506 offers near-professional quality at ~$99
❌ Cons
Extended headphone use causes ear fatigue faster than speakers
Even good headphones have a narrower stereo image than monitors
Open-back headphones leak sound — not for public use
Ear cushions degrade over time (replaceable but an added cost)
No headphones fully replace a well-treated room with good monitors
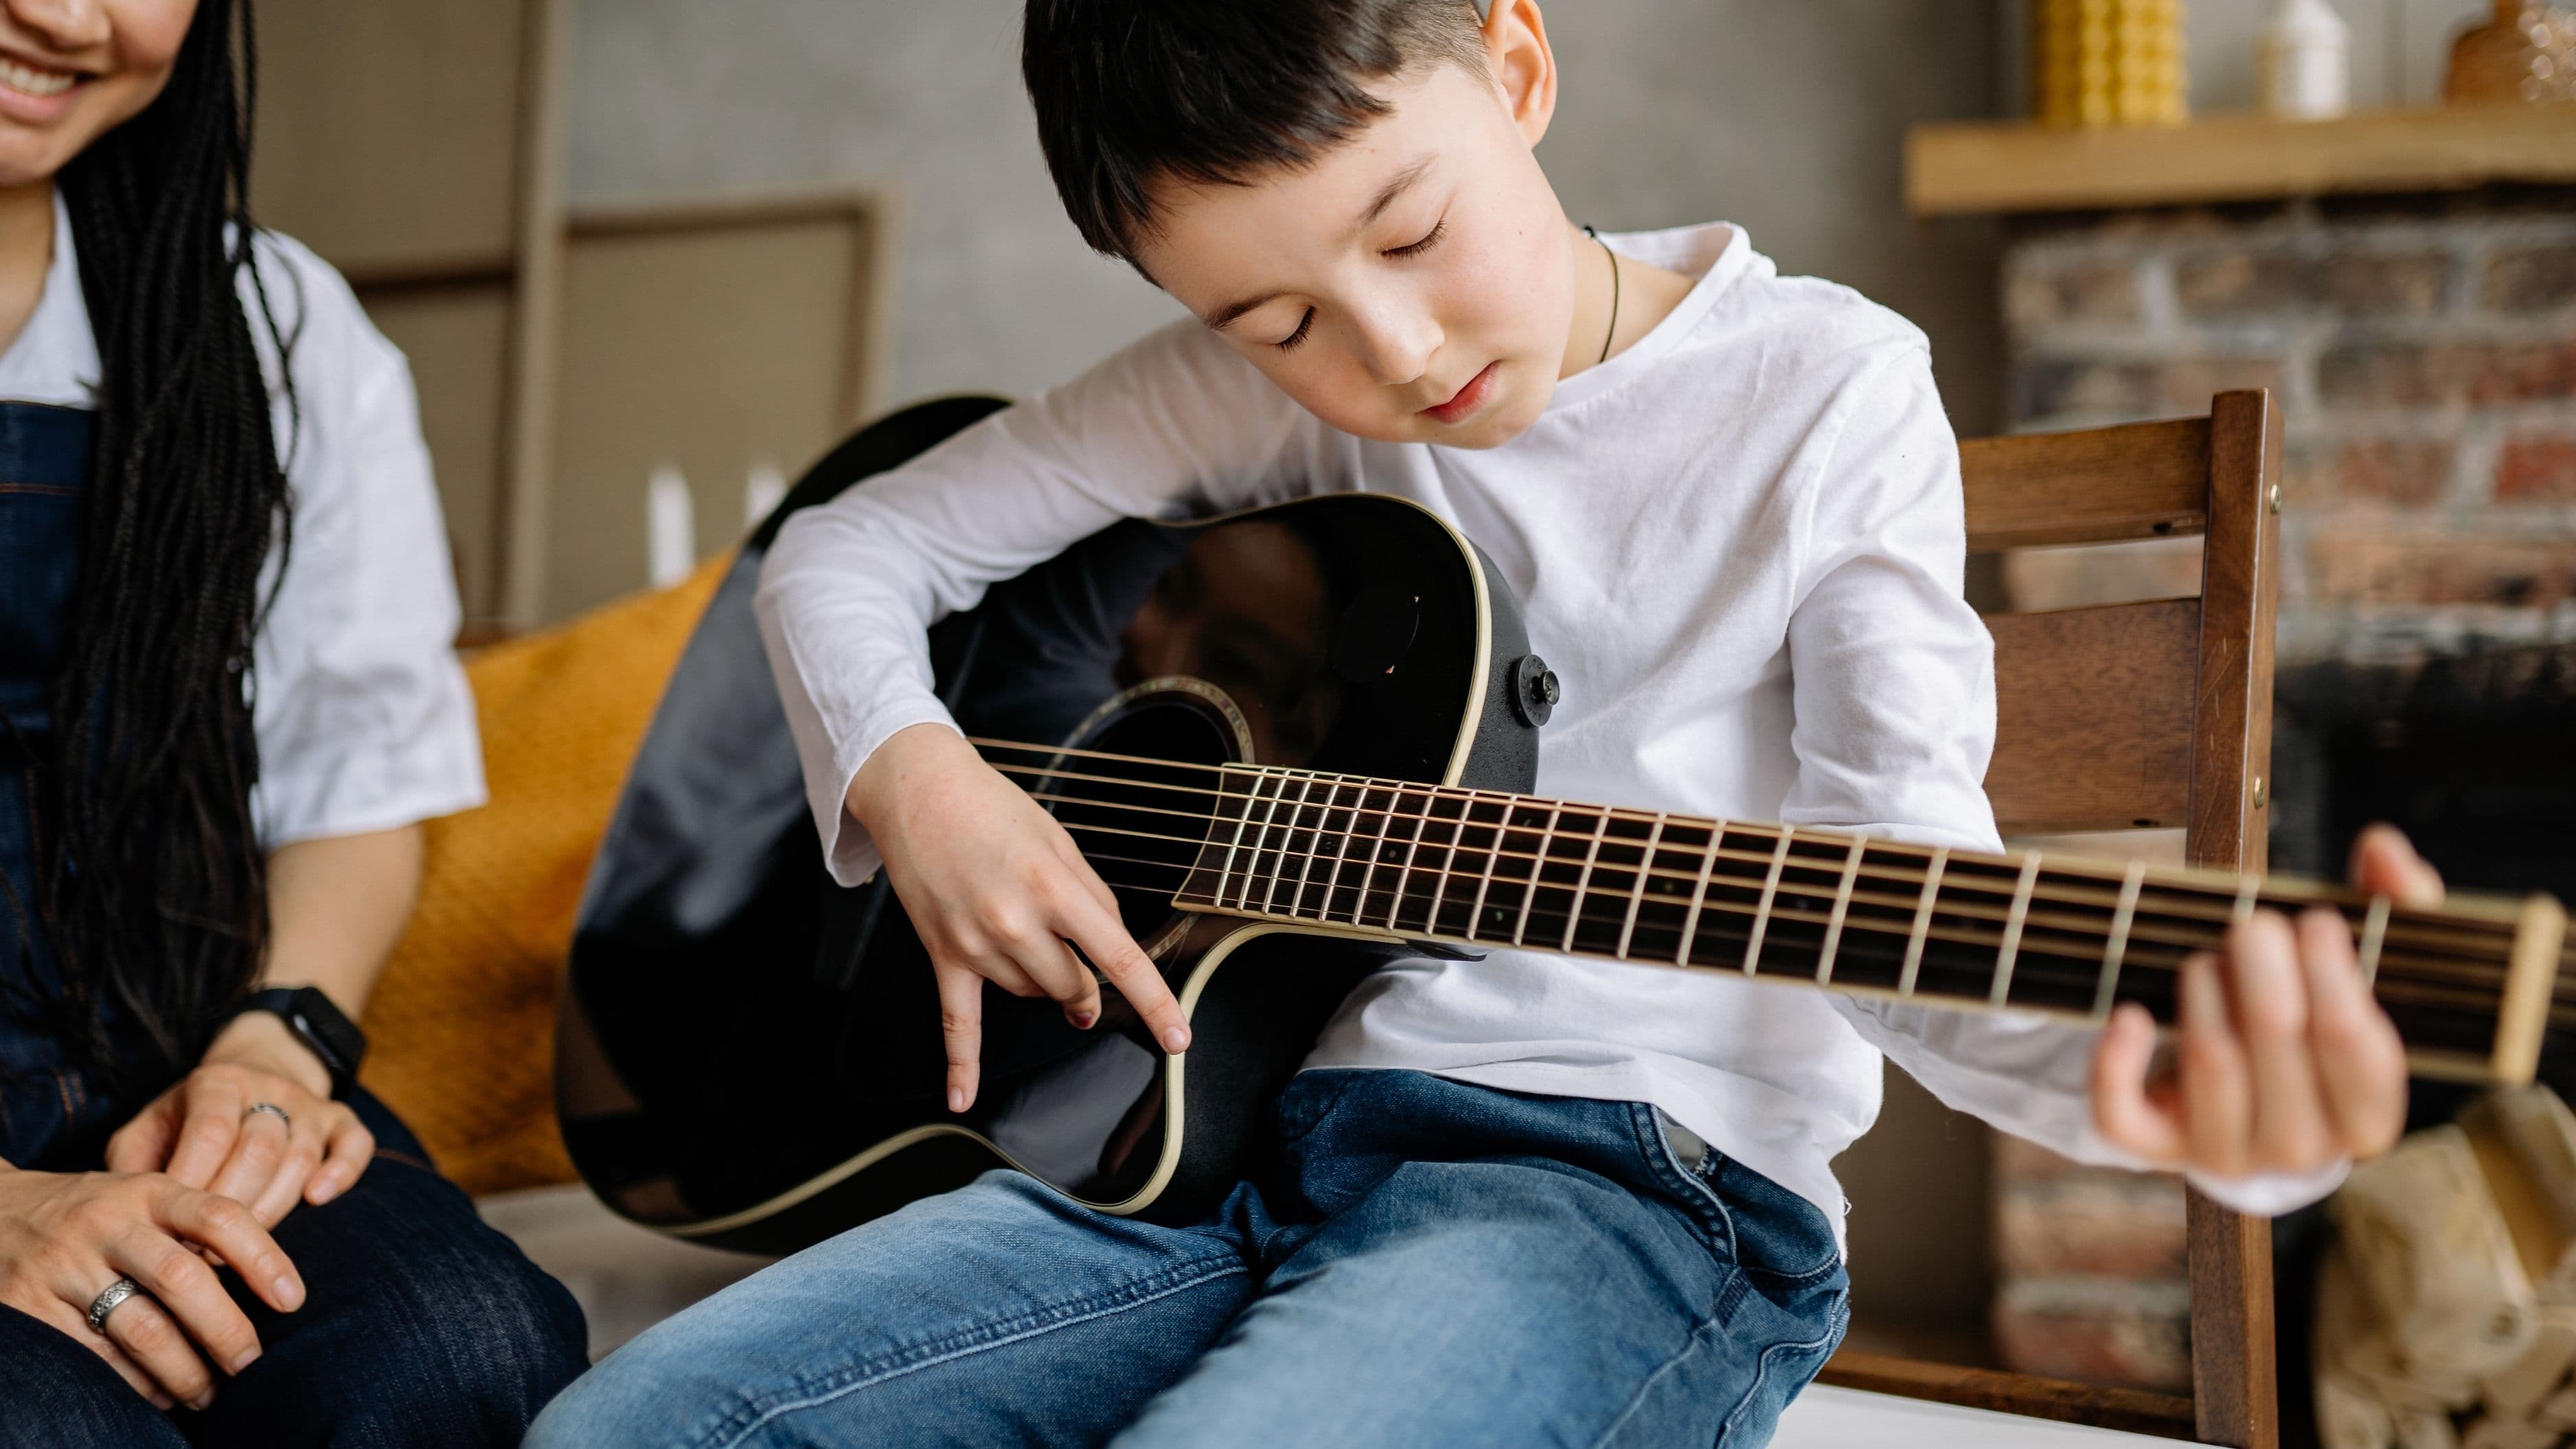
7. MIDI Controller — Best for Composers, Beatmakers & Producers
Best for: Anyone who wants to "play" software instruments and program beats
Pricing from: ~$50 (mini keyboard) / ~$150–$350 (full-featured pad/key controller)
Top brands: Akai, Arturia, Native Instruments, M-Audio
A MIDI controller doesn't make sound on its own — it sends data to your DAW to trigger virtual instruments, drum machines, synths, and samplers. Even if you don't consider yourself a musician, a basic MIDI keyboard or pad controller makes music production dramatically faster and more expressive than clicking notes into a piano roll with a mouse.
The Akai MPK Mini MkIII (~$99) is the single most popular beginner MIDI controller in the world for good reason — compact 25-key keyboard, 8 MPC-style pads, knobs, and solid build quality in one affordable package. Beatmakers who primarily work with samples and drums should consider the Akai MPD218 (~$79) — 16 velocity-sensitive pads with no keyboard. For those wanting more keys, the Arturia KeyLab Essential 49 (~$199) includes deep integration with Arturia's excellent software suite. Most controllers are class-compliant (plug-and-play, no driver needed) on both Mac and Windows.
✅ Pros
Makes performance and programming far more intuitive
Velocity-sensitive pads and keys add expressiveness
Most are plug-and-play with no driver installation
Compact options take minimal desk space
Unlocks the full potential of virtual instrument libraries
❌ Cons
Mini keys are cramped for players with larger hands
Cheap pads can be inconsistent in velocity response
Adds another USB device requiring a hub on some setups
Not strictly necessary for all production styles (EDM click-programming, etc.)
Learning to play even basic patterns takes dedicated practice
8. Cable & Connection Management — Best for Signal Integrity and a Clean Workspace
Best for: All setups — often ignored until a problem causes a lost take
Pricing from: ~$20 for a starter cable kit / ~$10–$30 per quality XLR cable
Top brands: Mogami, Canare, Hosa, Amazon Basics (for USB)
Poor cables are responsible for more mysterious audio problems than most beginners realize — from hums and buzzes to intermittent signal dropouts that can ruin a recording session. Cheap cables from unknown brands can introduce noise, fail at the connectors, and degrade signal over time. This isn't where you want to cut corners.
For XLR cables (microphone to interface), Mogami Gold (~$25–$35 each) are the professional standard and last for decades. For budget-conscious beginners, Hosa cables (~$10–$15 each) are a solid step up from generic options. Keep cable runs as short as practically possible, avoid running audio cables parallel to power cables (this causes hum), and use velcro cable ties to prevent tangling and connector stress. Labeling cables with colored tape saves enormous headaches in multi-cable setups. A simple USB hub (~$20–$30, powered) prevents drop-outs when running multiple USB devices simultaneously.
✅ Pros
Quality cables eliminate mysterious noise and hum issues
Good cable management improves workflow and reduces stress
Proper cables last years longer than budget alternatives
Color-coding accelerates setup and teardown
Prevents signal degradation across the entire signal chain
❌ Cons
Premium cables (Mogami) are a noticeable upfront cost
Cable clutter accumulates quickly as setups grow
XLR cables aren't interchangeable with TRS in all contexts
Easy to buy wrong connector type without checking specs first
Cable issues are notoriously hard to diagnose mid-session
9. Computer Optimization — Best for Preventing Latency and Crashes
Best for: All home studio users — especially those on older or mid-range machines
Pricing from: Free (software tweaks) / ~$50–$200 (RAM/SSD upgrades)
Relevant tools: LatencyMon (Windows), Activity Monitor (Mac), buffer size settings in your DAW
Your computer is the engine of your home studio, and a poorly optimized machine will cause audio dropouts, latency (the delay between playing a note and hearing it), and crashes at the worst possible moments. The good news: many optimization steps are free and take under an hour.
On Windows, disable Wi-Fi during recording, set your power plan to "High Performance," turn off background apps (antivirus scans, updates), and use LatencyMon (free) to identify problematic drivers. On Mac, disable Spotlight indexing during sessions, keep your OS updated, and avoid cheap USB hubs for audio. For both platforms: buffer size in your DAW is critical. Lower buffer (64–128 samples) = less latency for recording live; higher buffer (512–1024 samples) = more stability for mixing with heavy plugins. Toggle between these two modes rather than finding a single "perfect" setting. If your machine is genuinely underpowered, upgrading to an SSD (~$60–$100) and adding RAM (16GB minimum recommended) delivers more performance improvement per dollar than any piece of gear.
✅ Pros
Free optimizations dramatically improve recording stability
Reduces latency to nearly imperceptible levels on most machines
SSD/RAM upgrades are cost-effective and transformative
Prevents data loss from mid-session crashes
Extends the usable life of your existing computer
❌ Cons
Windows audio optimization is more complex than Mac
Some older machines genuinely can't handle modern DAWs well
RAM/SSD upgrades aren't possible on all laptops
Driver conflicts require patience to diagnose and fix
Optimization settings may need re-applying after OS updates
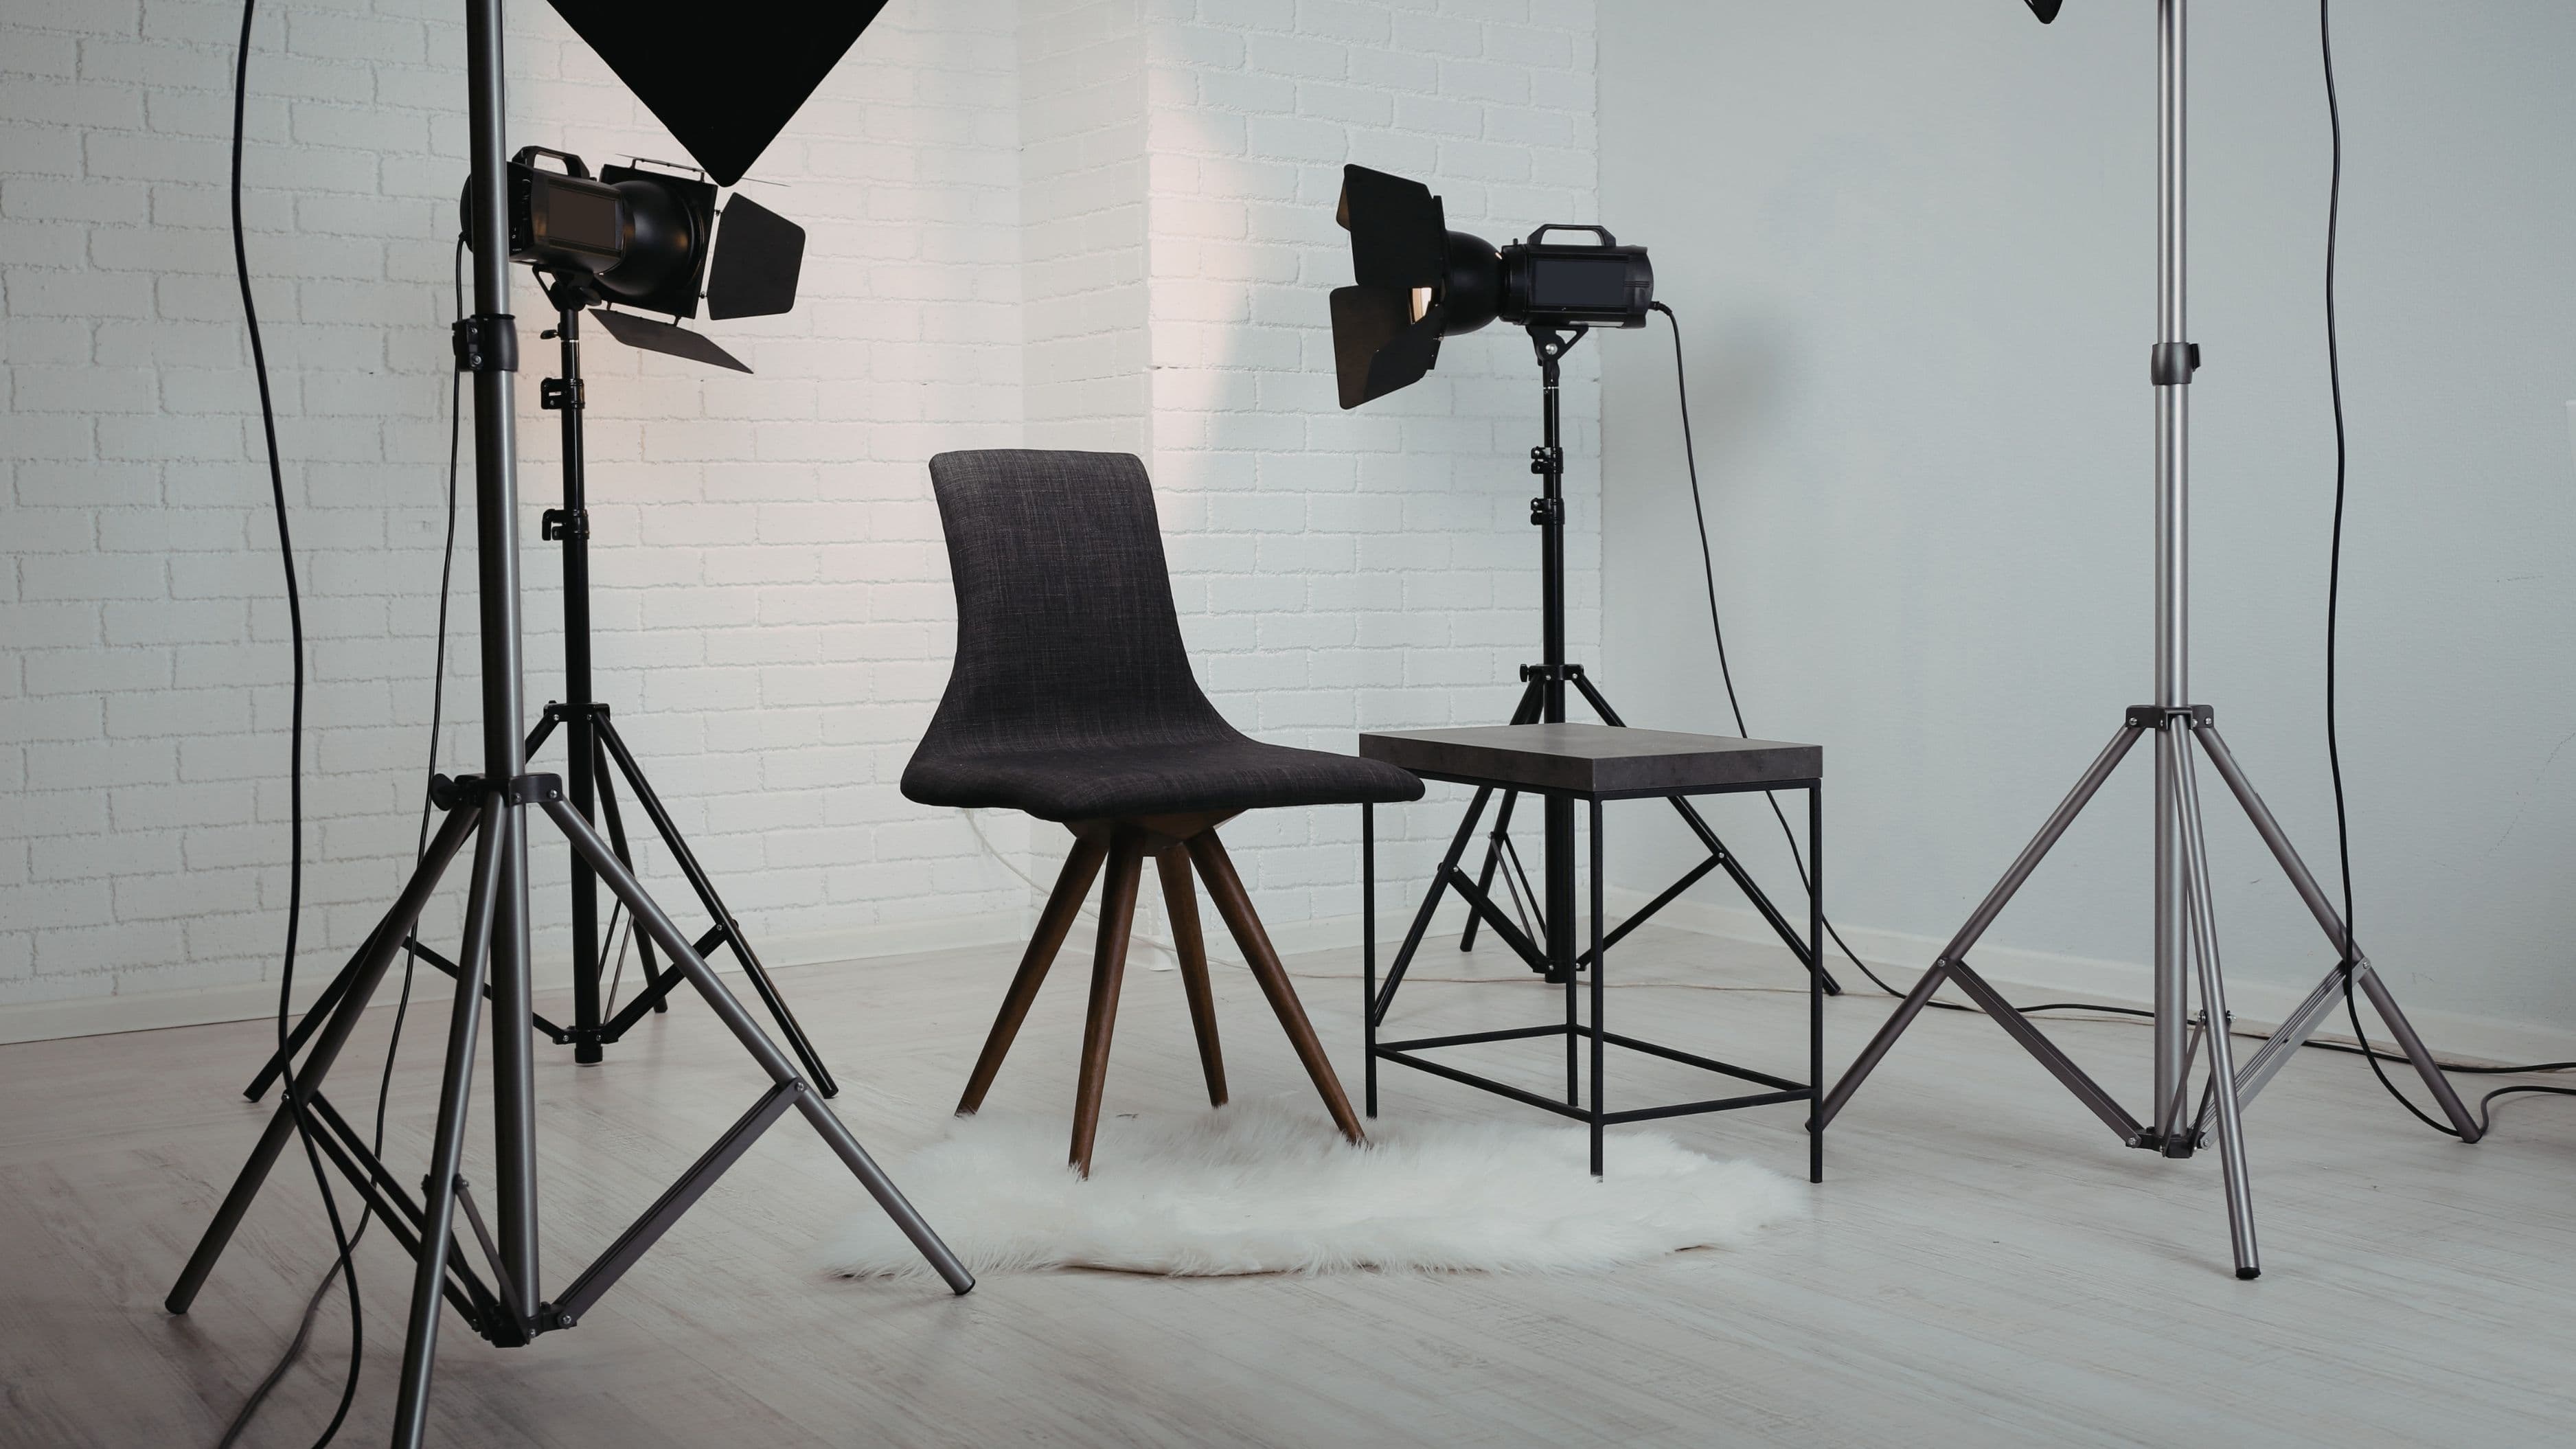
10. Ergonomic Workspace Design — Best for Long Sessions, Creativity & Health
Best for: Anyone spending more than 2 hours at a time in their studio
Pricing from: ~$30 (monitor riser, cable tray) / ~$200–$500 (full ergonomic setup)
Top brands: Ergotron, Flexispot, VIVO (monitor arms/stands), Herman Miller (chairs)
This tip is almost always last on beginner lists — and almost always the first thing experienced producers wish they'd addressed sooner. Poor posture, bad monitor placement, and an uncomfortable chair don't just affect your health: they affect your creative output. Fatigue makes you make bad decisions faster, and physical discomfort shortens your sessions.
Your studio monitors should be at ear height (use a monitor stand or riser, ~$30–$60 per pair). Your keyboard/MIDI controller should sit so your forearms are parallel to the floor. Invest in an adjustable chair with lumbar support — a secondhand Herman Miller Aeron or a Secretlab Titan (~$300–$400) are popular choices. A monitor arm (~$30–$80) frees up desk space and lets you position your screen precisely. Control surfaces and gear should be within arm's reach to avoid constant twisting. Good lighting (warm, indirect, no glare on screens) reduces eye strain significantly during long sessions. This is the setup you'll thank yourself for three months in.
✅ Pros
Proper ergonomics extend session length without fatigue
Correct monitor placement improves your mixing accuracy
A clean, organized workspace reduces cognitive friction
Sitting/standing desk options (Flexispot, ~$300) add health benefits
One-time investment that improves every session permanently
❌ Cons
Quality ergonomic chairs are a significant upfront investment
Desk space is genuinely limited in small rooms
Standing desk converters require a stable surface for monitors
Easy to deprioritize in favor of "more exciting" gear purchases
Personal body dimensions mean no universal solution exists
⚖️ Quick Comparison: Tips at a Glance
Setup Area | Budget Entry Point | Difficulty | Priority Level |
Acoustic Treatment | $30 DIY | Easy | 🔴 Critical |
Audio Interface | $50–$200 | Easy | 🔴 Critical |
Microphone | $99–$250 | Easy–Moderate | 🔴 Critical |
Studio Monitors | $200–$400/pair | Moderate | 🟠 High |
DAW | Free–$200 | Moderate–Hard | 🔴 Critical |
Headphones | $99–$180 | Easy | 🟠 High |
MIDI Controller | $50–$200 | Easy | 🟡 Medium |
Cables & Management | $20–$80 | Easy | 🟠 High |
Computer Optimization | Free–$200 | Moderate | 🟠 High |
Ergonomic Workspace | $30–$500 | Easy | 🟡 Medium |
Bottom line: Acoustic treatment, audio interface, microphone, and DAW form the non-negotiable core. Everything else elevates and refines that foundation.
🛒 Buying Guide
Who Needs a Home Studio Setup?
Anyone who records vocals, instruments, podcasts, voiceovers, or produces original music at home. You don't need a music degree or professional experience — but you do need the right foundational gear to get results that are worth sharing.
How It Works
A basic home studio signal chain works like this: Sound source (voice/instrument) → Microphone → Audio Interface → Computer/DAW → Studio Monitors or Headphones. Every link in that chain affects the final quality. Weakness at any point (poor room acoustics, cheap cable, underpowered computer) limits the ceiling of every other investment you make.
Key Features to Consider
Your primary use case — vocals, instruments, beats, podcasting, and film scoring each have different gear priorities
Room size and treatment potential — a small, carpeted bedroom is actually easier to treat than a large, reflective room
Computer specs — confirm your machine can handle your chosen DAW before purchasing
Upgrade path — choose gear with room to grow (2-input interface → 8-input later; starter monitors → better ones without replacing everything else)
Noise floor of your environment — if you live near traffic or have thin walls, acoustic treatment and dynamic microphones become even more important
💰 Pricing Overview & DIY vs. Professional Options
Starter Budget: $300–$600
Audio interface + condenser mic + headphones + free DAW (GarageBand/Reaper) + basic DIY acoustic treatment. This is enough to produce professional-sounding recordings if you invest time in learning mic technique and room treatment.
Mid-Range Budget: $600–$1,500
Adds quality studio monitors, a proper MIDI controller, acoustic treatment panels, and a paid DAW with plugins. This is the sweet spot where most serious hobbyists and emerging professionals land.
Advanced Beginner: $1,500–$3,000
Dedicated studio desk, higher-end interface with multiple preamps, professional-grade monitors, acoustic panel system, and a well-specced computer. Results at this level are indistinguishable from many commercial studios for most use cases.
DIY vs. Pre-Built Options
DIY (buying components separately) gives you better value, more customization, and the ability to prioritize what matters most for your use case. Pre-built bundles (like Focusrite's Scarlett Studio pack or PreSonus AudioBox bundles) are convenient and well-matched but often include a microphone that's a compromise choice. For most beginners, starting with a DIY approach based on this guide will serve you better long-term.
❓ Frequently Asked Questions
Q: What's the absolute minimum I need to start recording at home? You can get started with: an audio interface (~$100), a condenser microphone (~$99), a pair of headphones (~$99), and a free DAW like GarageBand (Mac) or Reaper (Windows/Mac, ~$60). That's under $360 total and enough to produce results you'd be proud of.
Q: Do I need acoustic treatment if I only make electronic music with no live recording? If you're not recording microphones, treatment matters less for capturing — but it still significantly impacts your ability to mix accurately. An untreated room gives you misleading bass response that causes your mixes to sound muddy or thin on other systems. At minimum, add bass traps to your corners.
Q: Should I buy a USB microphone or an XLR microphone? Unless you need the absolute simplest possible setup with no interface (podcasting, streaming, Zoom calls), always choose XLR. USB microphones bypass your audio interface, limit your upgrade path, can't be used with professional studio setups, and often sound inferior to comparable XLR options in the same price range.
Q: How do I reduce latency when recording? Lower your DAW's buffer size to 64–128 samples when tracking live, ensure you're using the correct ASIO (Windows) or Core Audio (Mac) drivers for your interface, disable all unnecessary background applications, and if possible, record via your interface's direct monitoring feature (which routes audio before it enters the computer, giving you zero-latency monitoring).
Q: Is a Mac or Windows PC better for music production? Both are equally capable for music production in 2024–2025. Mac has historically had better audio driver stability (Core Audio) and exclusive access to Logic Pro, the best-value DAW available. Windows has more hardware flexibility, often better price-to-performance ratios, and runs every major DAW. Choose based on your existing ecosystem, not platform loyalty.
🔍 Explore Related Topics