Top 10 at a Glance
Shoot in manual mode, not auto
Use a fast lens with a wide aperture
Raise your ISO without fear
Master shutter speed for motion vs freeze shots
Shoot in RAW, always
Know the venue's photo policy before you show up
Position yourself before the show starts
Focus on the eyes and expressions, not just the whole stage
Watch the lighting patterns, not just the performer
Edit with restraint, not heavy filters
1. Shoot in Manual Mode, Not Auto
Auto mode is built to average out a scene, and concert lighting is the opposite of average. It swings from near darkness to blinding spotlights within seconds, and auto settings will constantly hunt, lag, and misjudge exposure while you miss the shot entirely. Shooting in full manual, or at minimum aperture priority with manual ISO, gives you control over exactly how much light hits your sensor regardless of what the stage lighting is doing.
Why it matters: A camera in auto mode is reacting to light that already changed by the time it adjusts, which in a fast-moving concert environment means blown-out highlights or muddy, underexposed frames.
How to apply it: Set your exposure manually before the show starts using the venue's ambient lighting as a baseline, then make small adjustments as the show progresses rather than trusting the camera to guess correctly in real time.
2. Use a Fast Lens With a Wide Aperture
A lens capable of f/2.8 or wider, ideally something like an f/1.8 prime, is close to essential for concert photography. Wider apertures let significantly more light into the camera, which matters enormously in dim venues, and they also create a shallow depth of field that separates your subject from a busy, distracting background.
Why it matters: Slower lenses force you to compensate with either a much slower shutter speed, which causes motion blur, or a much higher ISO, which increases noise. A fast lens gives you more room to balance both.
How to apply it: A 50mm f/1.8 is an affordable, widely available option that performs well in low light, and it's often the single best upgrade a beginner concert photographer can make before spending money on anything else.
3. Raise Your ISO Without Fear
New photographers are often taught to keep ISO as low as possible to avoid noise, but concert venues are dark enough that this advice can actively ruin your shots. A slightly noisy but sharp, well-exposed photo is almost always better than a clean but blurry or underexposed one.
Why it matters: Modern cameras, even mid-range models from the last several years, handle ISO 3200 to 6400 far better than older gear did, and a bit of grain is much easier to fix or even embrace stylistically than motion blur.
How to apply it: Don't be afraid to push ISO as high as your camera can handle while still producing an image you're comfortable editing, and test your specific camera's noise threshold before the show so you know your limits going in.
4. Master Shutter Speed for Motion vs Freeze Shots
Shutter speed decides whether you freeze a jumping guitarist mid-air or capture the blur of a drumstick in motion, and both can be powerful depending on the moment. A shutter speed around 1/250 or faster typically freezes movement cleanly, while something closer to 1/60 or 1/30 introduces intentional motion blur that can convey energy.
Why it matters: Concerts are full of movement, and a single fixed shutter speed for the whole set will either freeze everything into stiffness or blur everything into mush.
How to apply it: Default to a faster shutter speed for most of the show to keep shots sharp, then experiment with slower speeds during quieter, more atmospheric moments where a bit of blur adds mood rather than ruining the shot.
5. Shoot in RAW, Always
JPEG files compress and discard a lot of image data the moment they're captured, which severely limits how much you can recover in editing if your exposure or white balance is slightly off. RAW files preserve far more information, which matters enormously in concert photography where lighting conditions change constantly and getting a perfect exposure in-camera every single time is unrealistic.
Why it matters: Concert lighting often has strong color casts from colored stage lights, and RAW files give you enough latitude to correct white balance and recover shadow or highlight detail without destroying image quality.
How to apply it: Set your camera to RAW or RAW+JPEG before you leave for the venue, and budget extra time afterward for editing, since RAW files require more post-processing than a JPEG straight out of camera.
6. Know the Venue's Photo Policy Before You Show Up
Many venues and artists restrict photography to the first three songs, prohibit flash entirely, or require a specific media pass for anything beyond a phone camera. Showing up with a full camera setup and finding out at the door that it's not allowed wastes the trip entirely.
Why it matters: Getting turned away or having your camera confiscated is a completely avoidable problem if you check the venue's or artist's photography policy in advance.
How to apply it: Check the venue's website, the ticket's fine print, and the artist's official social media for any photography restrictions a few days before the show, and bring your camera in a bag that meets the venue's size policy to avoid issues at security.
7. Position Yourself Before the Show Starts
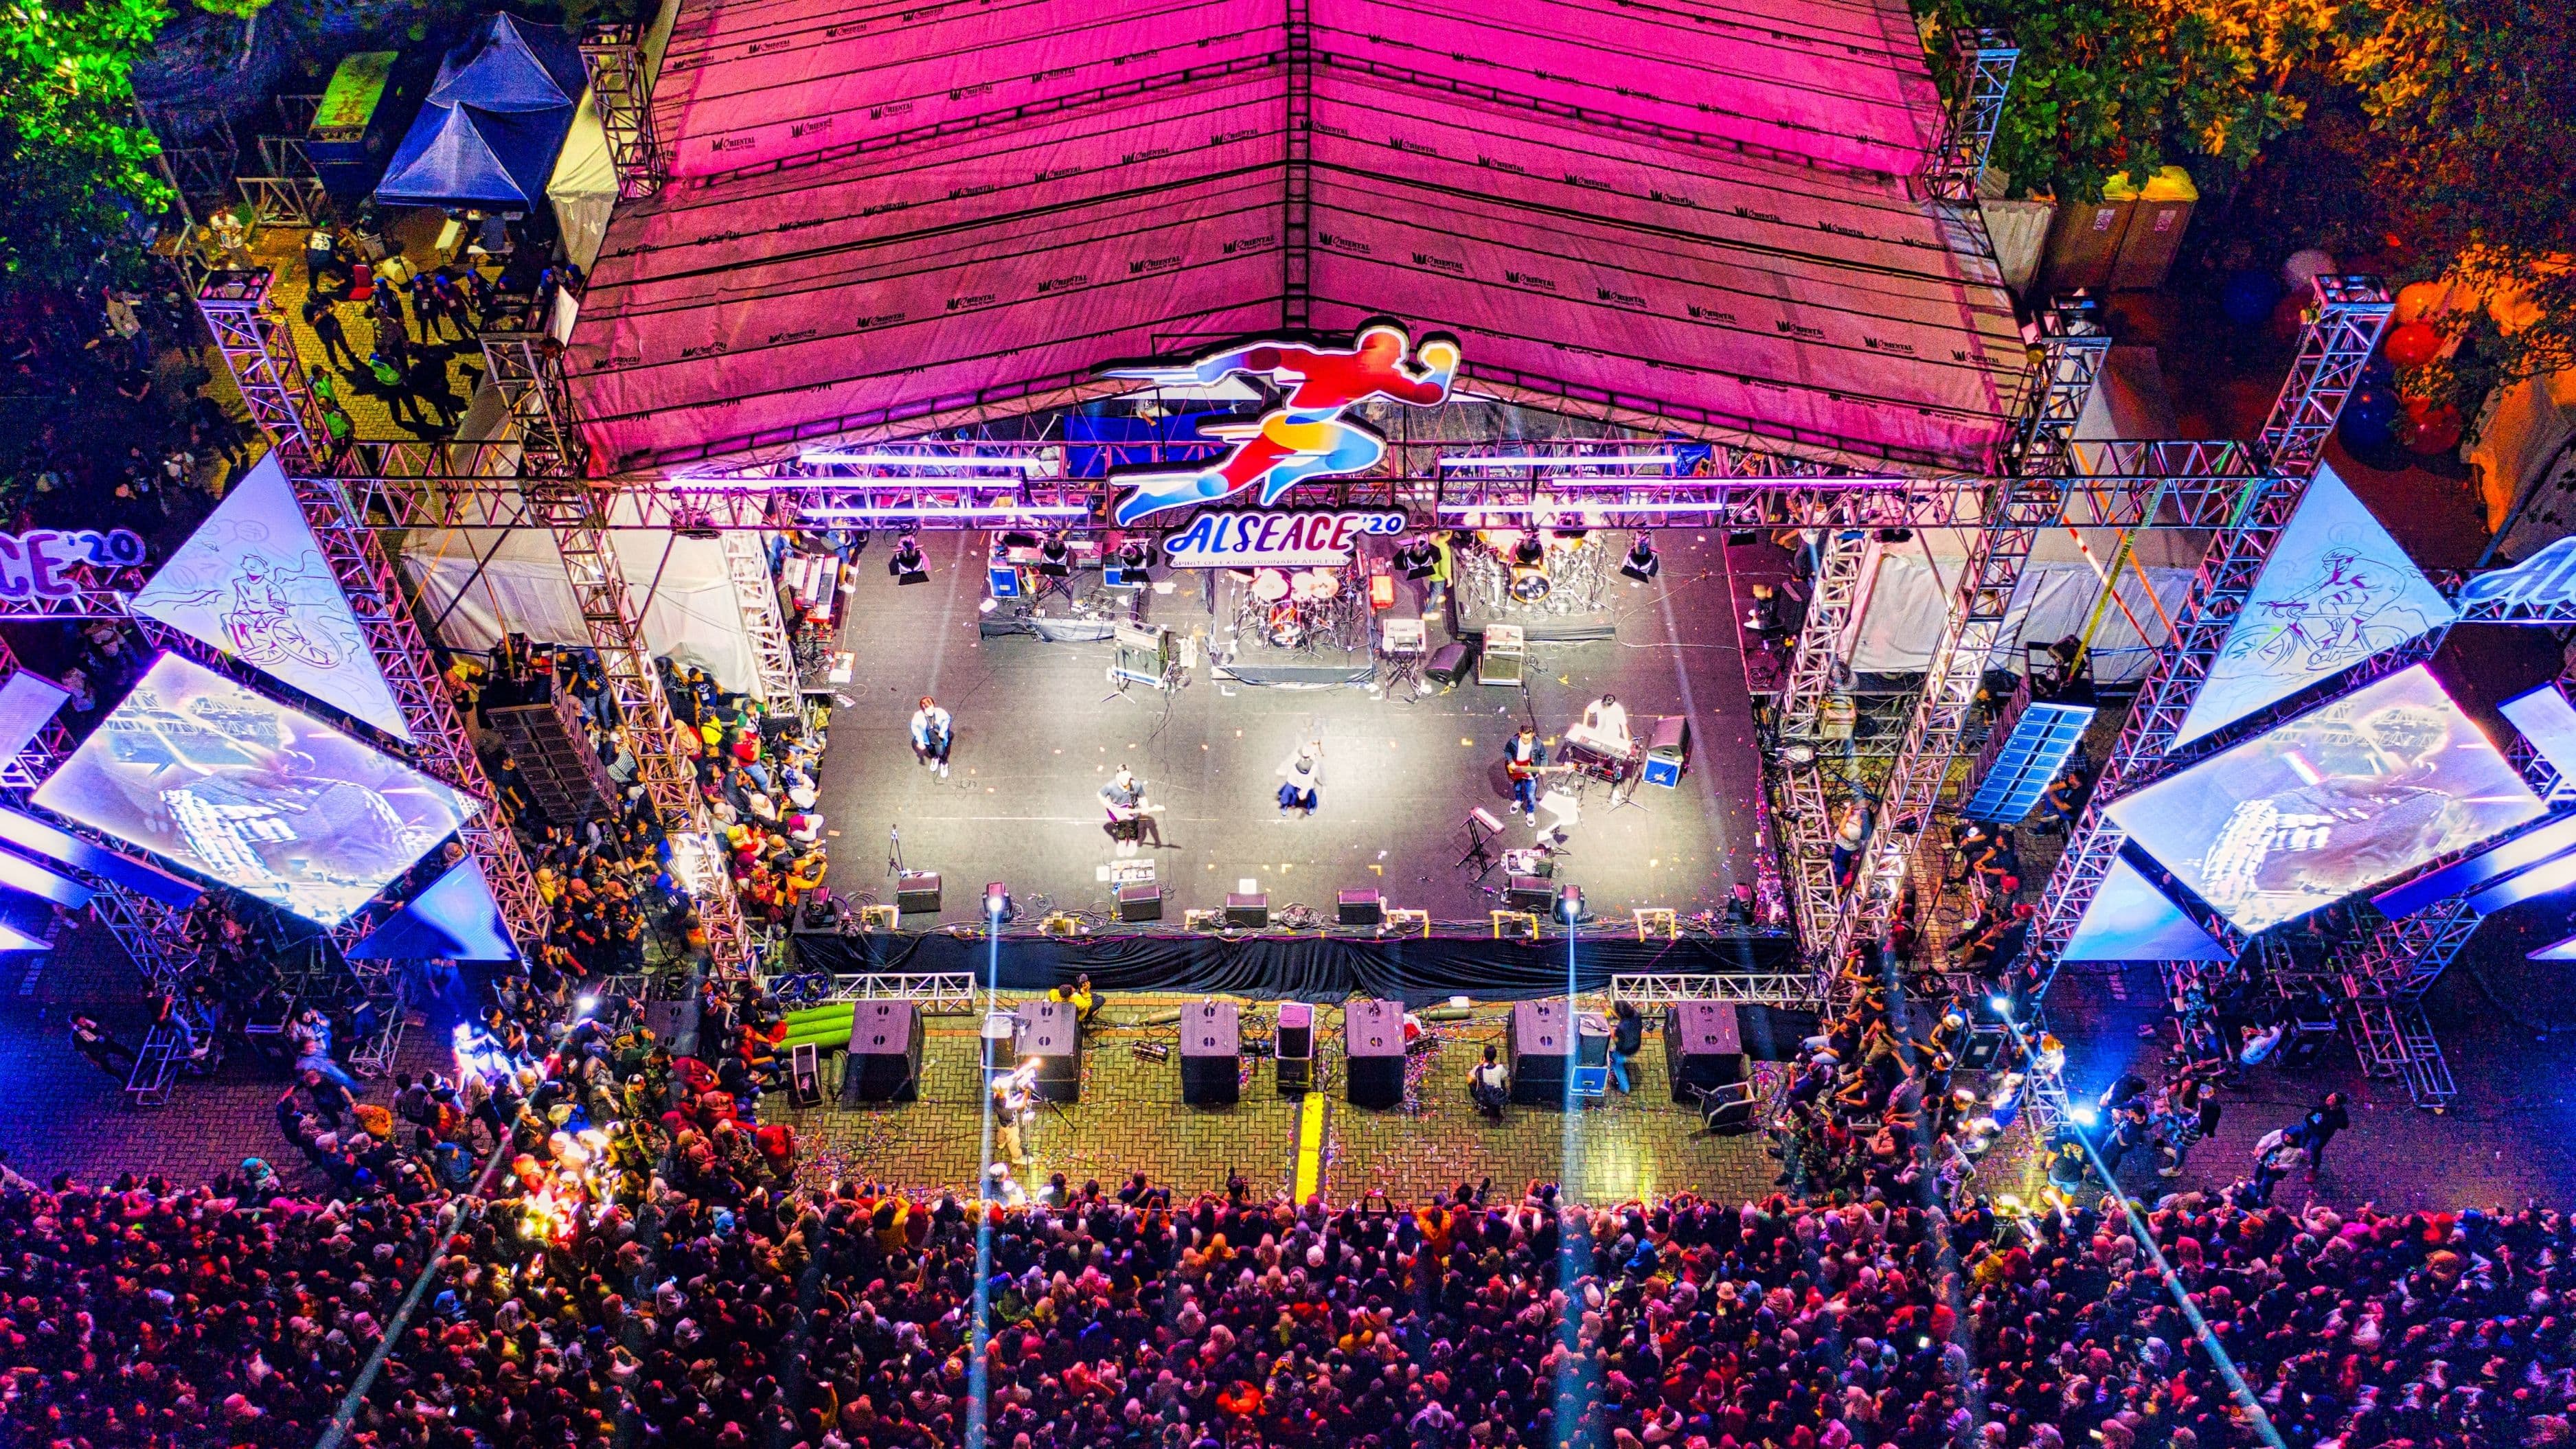
Good concert photography depends heavily on your physical position relative to the stage and lighting rigs, and that position gets much harder to secure once a crowd fills in. Arriving early to scope out sightlines, check where the stage lighting will likely hit, and claim a spot near the photo pit or an unobstructed rail area makes a measurable difference in shot quality.
Why it matters: Even the best camera settings can't fix a shot where you're photographing the back of someone's head or shooting through a forest of raised phones.
How to apply it: Arrive at least 30 to 45 minutes before doors if possible, and look for spots slightly off-center from the main stage where lighting typically creates more dynamic, less flat-looking shots.
8. Focus on the Eyes and Expressions, Not Just the Whole Stage
Wide shots of the entire stage have their place, but the photos that actually capture a concert's energy tend to be tighter shots on a performer's face, hands on an instrument, or a specific interaction between bandmates. These moments carry emotion that a wide establishing shot usually can't.
Why it matters: Viewers connect with faces and expressions far more than with a technically correct but emotionally flat wide shot of the whole stage.
How to apply it: Mix in tighter focal lengths or zoom in during key moments like a guitar solo or an emotional vocal line, and prioritize getting the eyes in sharp focus whenever a performer's face is a significant part of the frame.
9. Watch the Lighting Patterns, Not Just the Performer
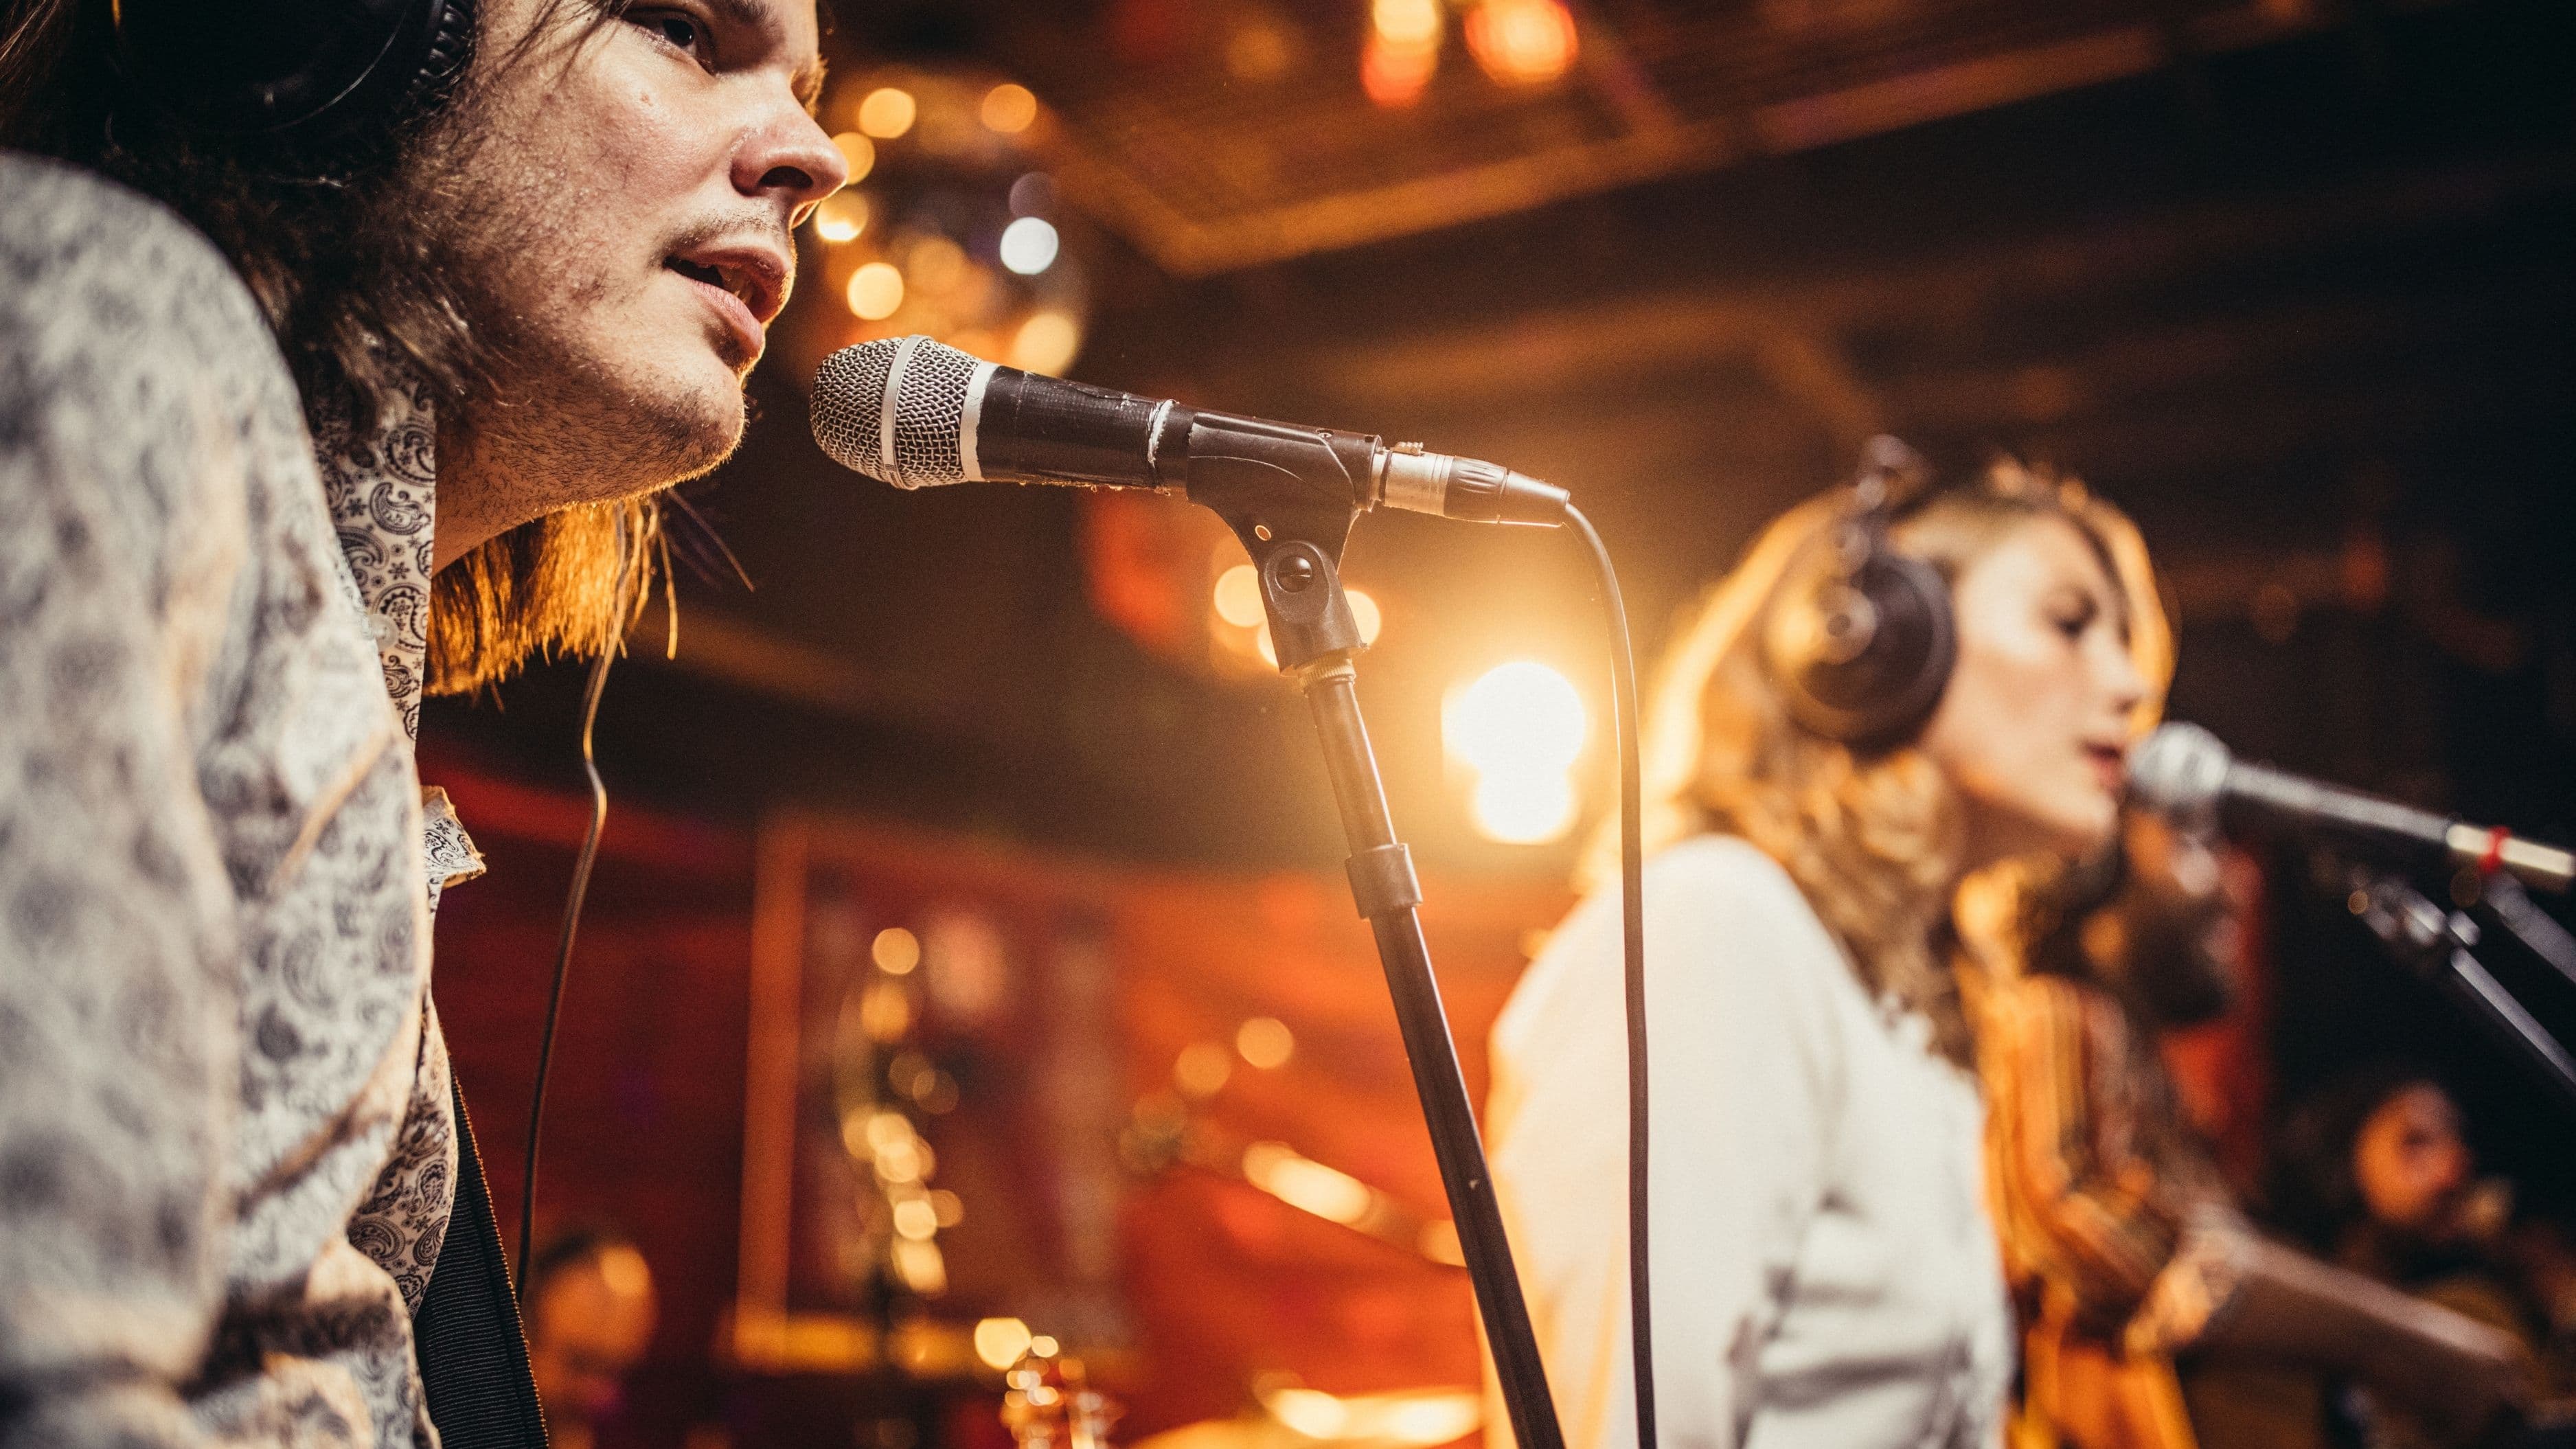
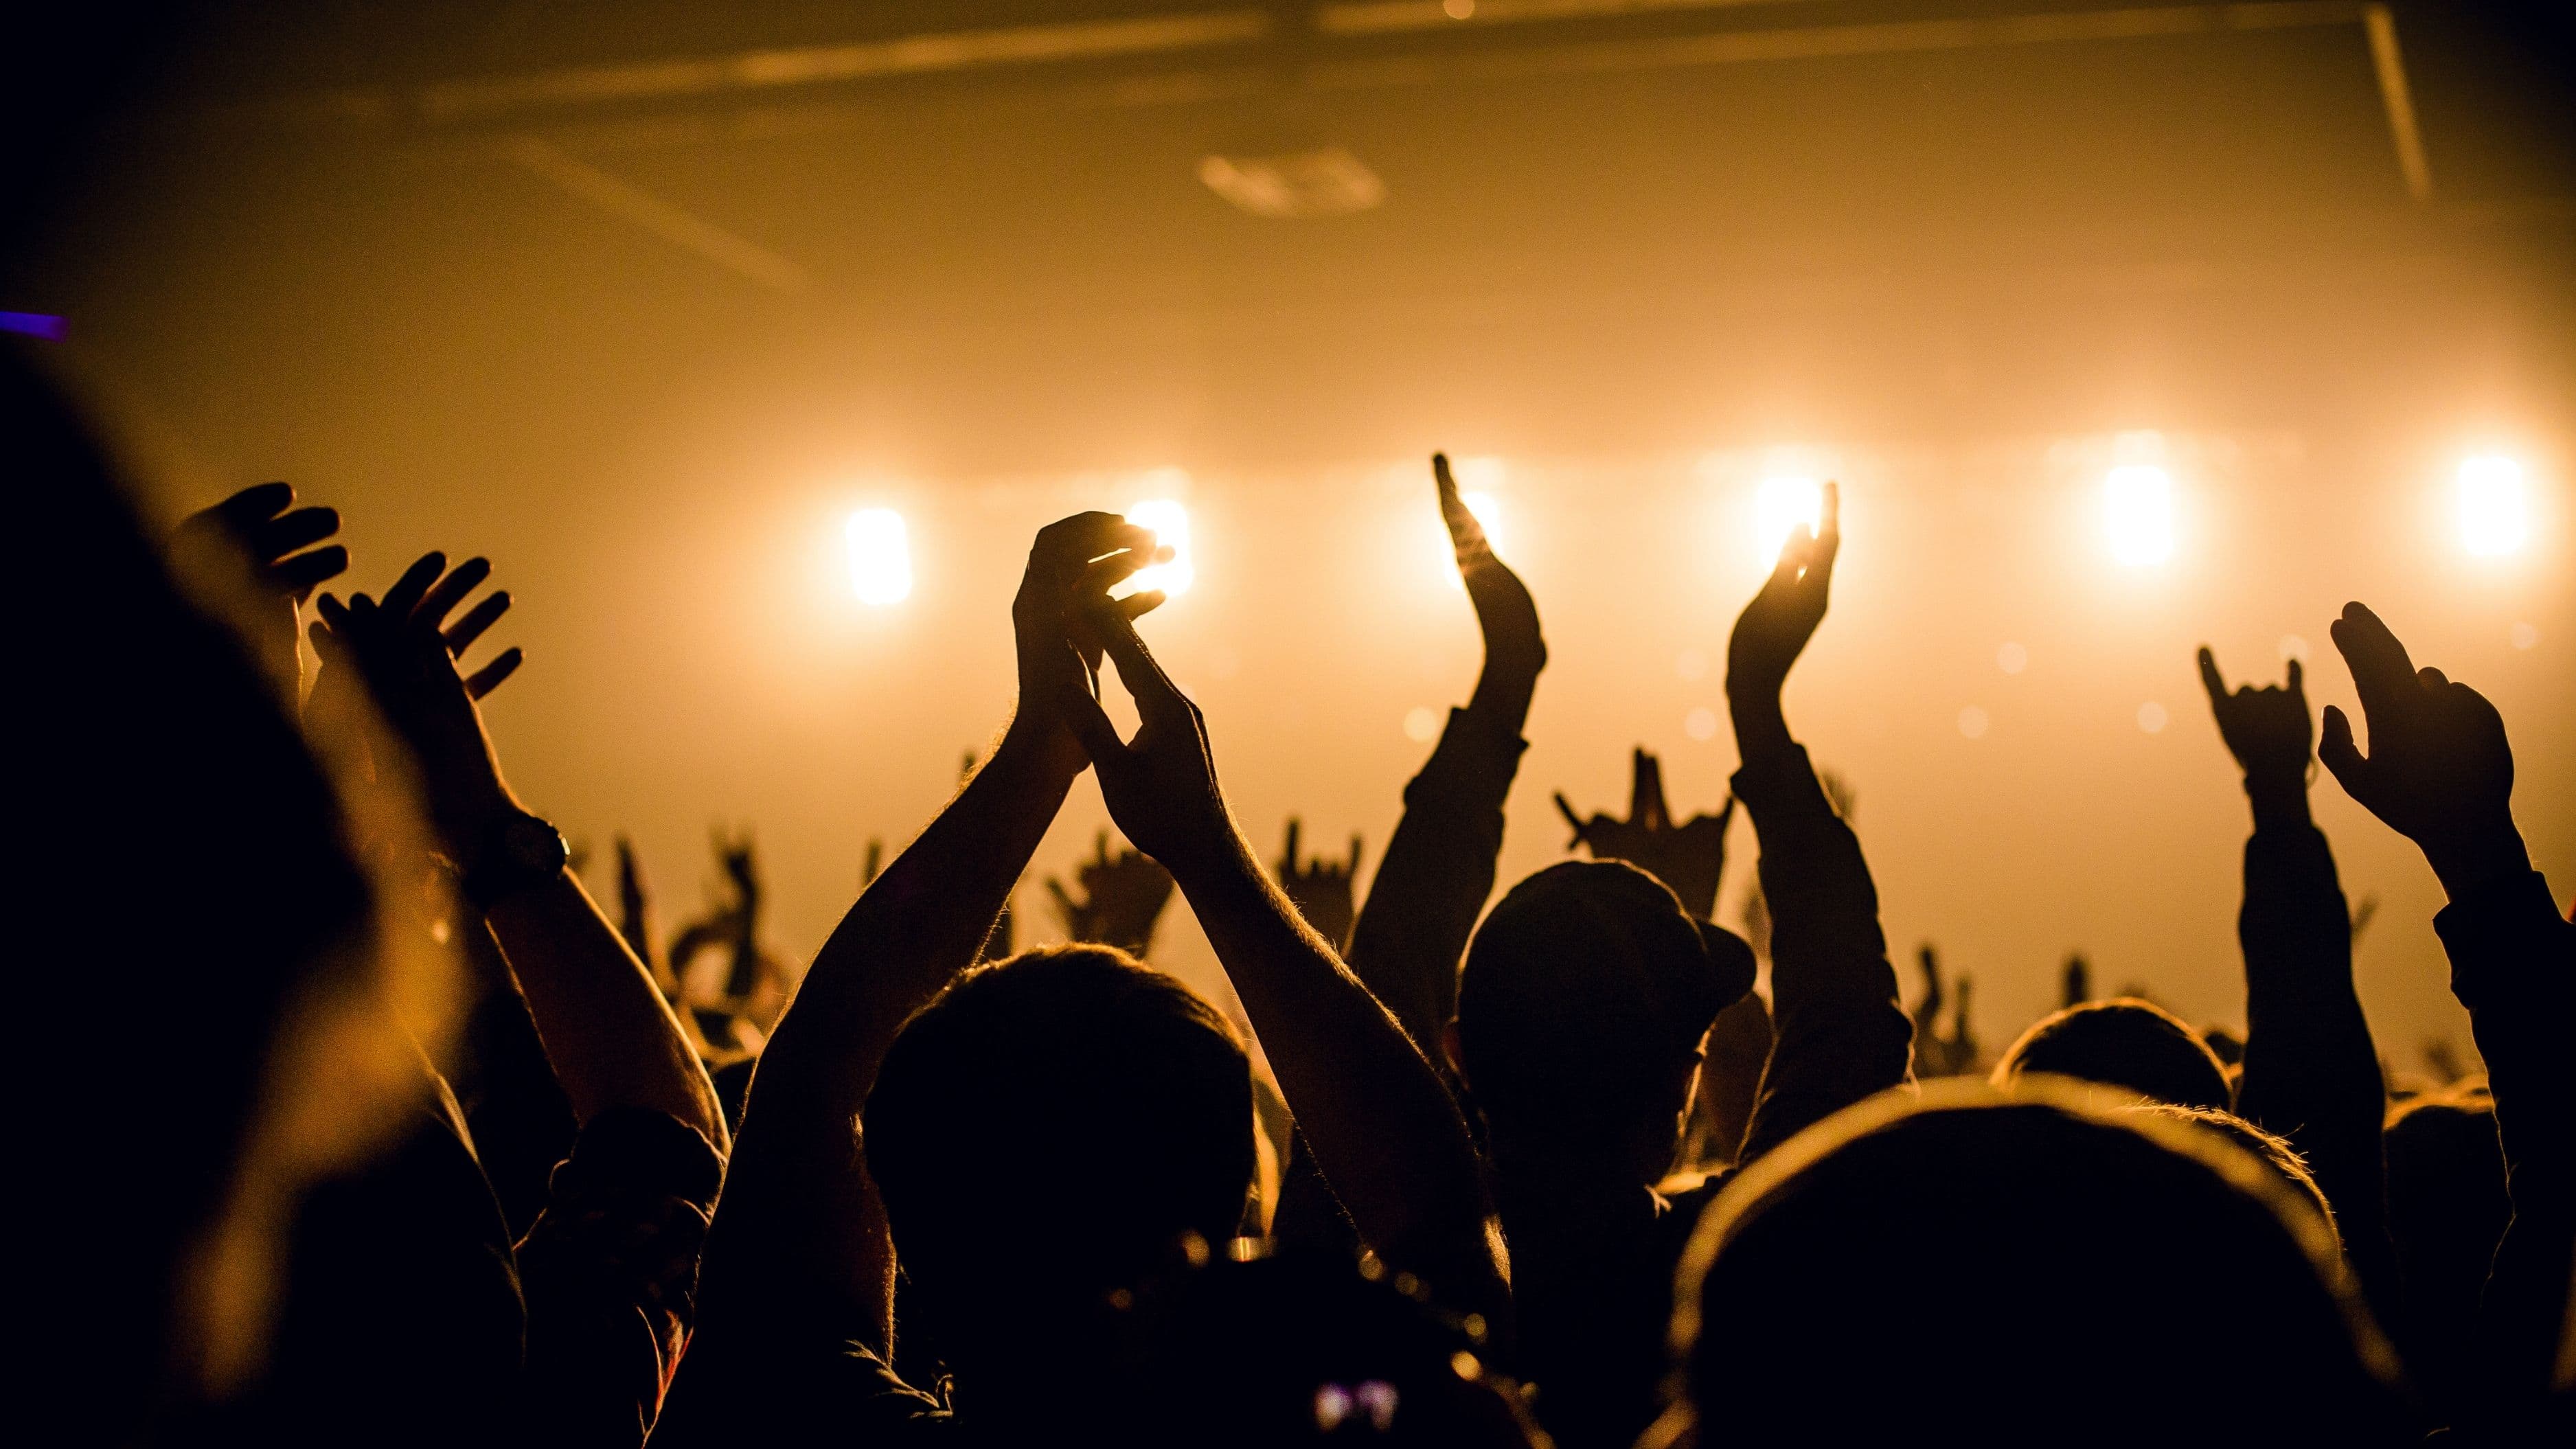
Concert lighting is designed with intention, often building toward specific moments in a song, and photographers who anticipate those patterns instead of just reacting to the performer end up with far more dramatic shots. Backlighting, colored washes, and strobes each create dramatically different moods, and timing your shot to a lighting change can transform an ordinary moment into a striking one.
Why it matters: A performer captured during a flat, evenly lit moment looks completely different from the same performer caught in a dramatic silhouette or colored spotlight a few seconds later.
How to apply it: Watch a few songs before shooting heavily to notice the lighting designer's patterns, since many shows repeat certain lighting cues at similar points in different songs, giving you a chance to anticipate rather than just react.
10. Edit with Restraint, Not Heavy Filters
It's tempting to lean on heavy presets and dramatic filters to make concert photos feel more intense, but overprocessed images with crushed shadows, oversaturated colors, and excessive sharpening often look worse than a well-exposed, lightly edited original. The goal of editing should be to correct and enhance what's already there, not to manufacture drama that wasn't captured in camera.
Why it matters: Heavy-handed editing tends to age poorly and can make otherwise strong shots look artificial or gimmicky within a year or two, while a clean, natural edit holds up much longer.
How to apply it: Focus your editing time on correcting white balance, recovering shadow and highlight detail, and subtle contrast adjustments before reaching for stylized presets, and always compare your edited version against the original to make sure you haven't lost the moment in the process.
Quick Takeaway
Concert photography rewards preparation more than expensive gear. Knowing the venue rules, arriving early for a good position, and understanding your camera's manual settings well enough to adjust quickly in changing light will produce better results than the most expensive camera body used on auto mode.
FAQ
Can I shoot great concert photos with just a phone? Modern phone cameras handle low light reasonably well, but manual camera apps and a steady hand are essential, since most phones struggle with fast-moving subjects in dim, colorful lighting.
What's the biggest beginner mistake in concert photography? Relying on auto mode and a slower kit lens, both of which struggle badly in the low, constantly changing light typical of live shows.
Do I need a media pass to shoot at concerts? Not always. Many venues allow phone and basic camera photography for general ticket holders, but full camera setups with detachable lenses often require a media pass or press credential, so it's worth checking in advance.
📚 Sources
B&H Explora – "Concert Photography Tips." https://www.bhphotovideo.com/explora/photography/tips-and-solutions/concert-photography-tips
National Press Photographers Association – "Live Music Photography Guidelines." https://nppa.org/
Adobe – "Understanding RAW vs JPEG." https://www.adobe.com/creativecloud/photography/discover/raw-vs-jpeg.html